Une guida pratica per utilizzare un creatore di guide di studio | HoverNotes
General1 dicembre 2025•Updated: 16 luglio 2026
Une guida pratica per utilizzare un creatore di guide di studio
Scopri come un creatore di guide di studio trasforma le lezioni video in appunti utili e pratici. Questa guida spiega come configurare il sistema, catturare i contenuti e integrare gli appunti nel tuo flusso di lavoro.
Di HoverNotes Team•15 min di lettura
Un buon generatore di guide di studio è uno strumento che ti aiuta a creare una struttura organizzata delle informazioni per un esame o un obiettivo di apprendimento. Ma quando il materiale di partenza è un video, il processo non riguarda solo il testo: si tratta di catturare il contesto visivo, i momenti chiave e le idee complesse senza dover mettere continuamente in pausa.
Lo strumento giusto trasforma la visione passiva dei video in una sessione di apprendimento attiva ed efficiente.
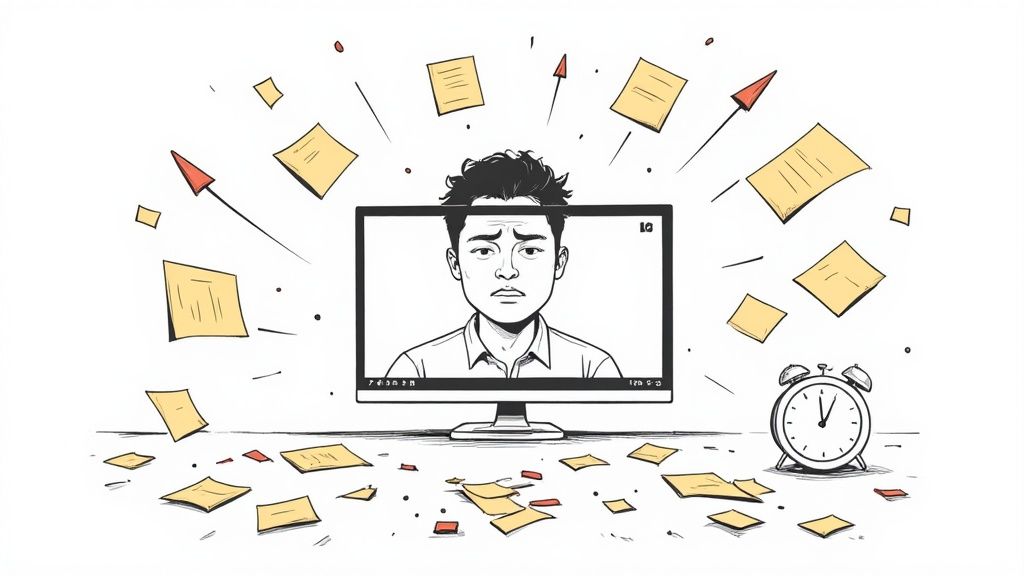
Imparare da un video è spesso una seccatura. Ti ritrovi intrappolato in un loop di pause, riavvolgimenti e tentativi di annotare mentre il relatore va avanti. È una frustrazione comune per studenti e chiunque impari online.
Questo processo a intermittenza uccide la concentrazione e il flusso della lezione. Ti ritrovi con pensieri a metà, perdendo la visione d’insieme perché la tua attenzione era rivolta a scrivere, non a comprendere. Il problema è semplice: il video è un mezzo dinamico, ma prendere appunti manualmente è statico e goffo.
Fare screenshot sembra una buona idea all’inizio, ma presto crea un caos. La tua cartella download si trasforma in un cimitero di file chiamati Screen Shot 2024-10-26 at 11.41.05 AM.png.
Queste immagini sono completamente scollegate dai tuoi appunti scritti. Mancano del contesto di quando e perché sono state catturate.
Quando rivedi la tua guida di studio dopo una settimana, devi indovinare cosa spiegava un diagramma o cosa mostrava quel frammento di codice. Senza un collegamento diretto a quel momento del video, il valore dello screenshot scende a zero.
Le trascrizioni automatiche forniscono un resoconto testuale, ma spesso perdono completamente il punto dell’apprendimento da un video: gli elementi visivi.
Una trascrizione non può mostrarti la postura corretta di una posizione di yoga, l’interfaccia di un software o come un relatore disegna un legame chimico sulla lavagna. Questo contesto visivo è spesso dove avviene il vero apprendimento.
Un moderno generatore di guide di studio deve risolvere questi problemi. Deve intrecciare testo, immagini e contesto video in un unico documento. Per esempio, HoverNotes è un’estensione Chrome che osserva i video con te, genera appunti AI e li salva come Markdown direttamente nel tuo file system. A differenza degli strumenti che si basano solo sulle trascrizioni, HoverNotes osserva il video per catturare ciò che è realmente sullo schermo. Abbiamo scritto di più sulla sfida fondamentale dell’apprendimento da video, ma la buona notizia è che strumenti migliori sono progettati per correggere questo processo inefficace.
Pochi minuti di configurazione possono farti risparmiare ore dopo. Preparare il tuo spazio digitale è il passo più importante per costruire un sistema che trasformi i contenuti video in conoscenza duratura. L’obiettivo è creare un percorso senza attriti dalla visione di un video ad avere appunti organizzati.
Facciamo un esempio pratico. Imposteremo un sistema che funziona su qualsiasi piattaforma video — da Udemy a portali universitari — e salva i tuoi appunti direttamente sul tuo computer. Così possiedi la tua conoscenza per sempre, senza rischi di restare bloccato in un formato proprietario o in un servizio cloud che potrebbe sparire.
Un solido sistema di conoscenza si basa su semplici file Markdown (.md). Questo assicura che i tuoi appunti siano portabili, ricercabili e a prova di futuro. Se usi un’app come Obsidian, conosci già il valore di questo approccio. È un setup ideale per studenti seri.
Ecco la semplice pila di strumenti che useremo:
Un’app per prendere appunti:Obsidian è una scelta eccellente. Lavora direttamente con file locali Markdown in una cartella sul computer, che definisci come "vault". È la tua base personale di conoscenza.
Un registratore di note video:HoverNotes, un’estensione Chrome che osserva i video, genera appunti AI e li salva come file Markdown direttamente sul computer.
Questa combinazione crea un ambiente integrato. I tuoi appunti da una lezione Coursera, un tutorial YouTube o anche un file video locale arrivano tutti nello stesso posto, pronti per essere collegati e rivisti.
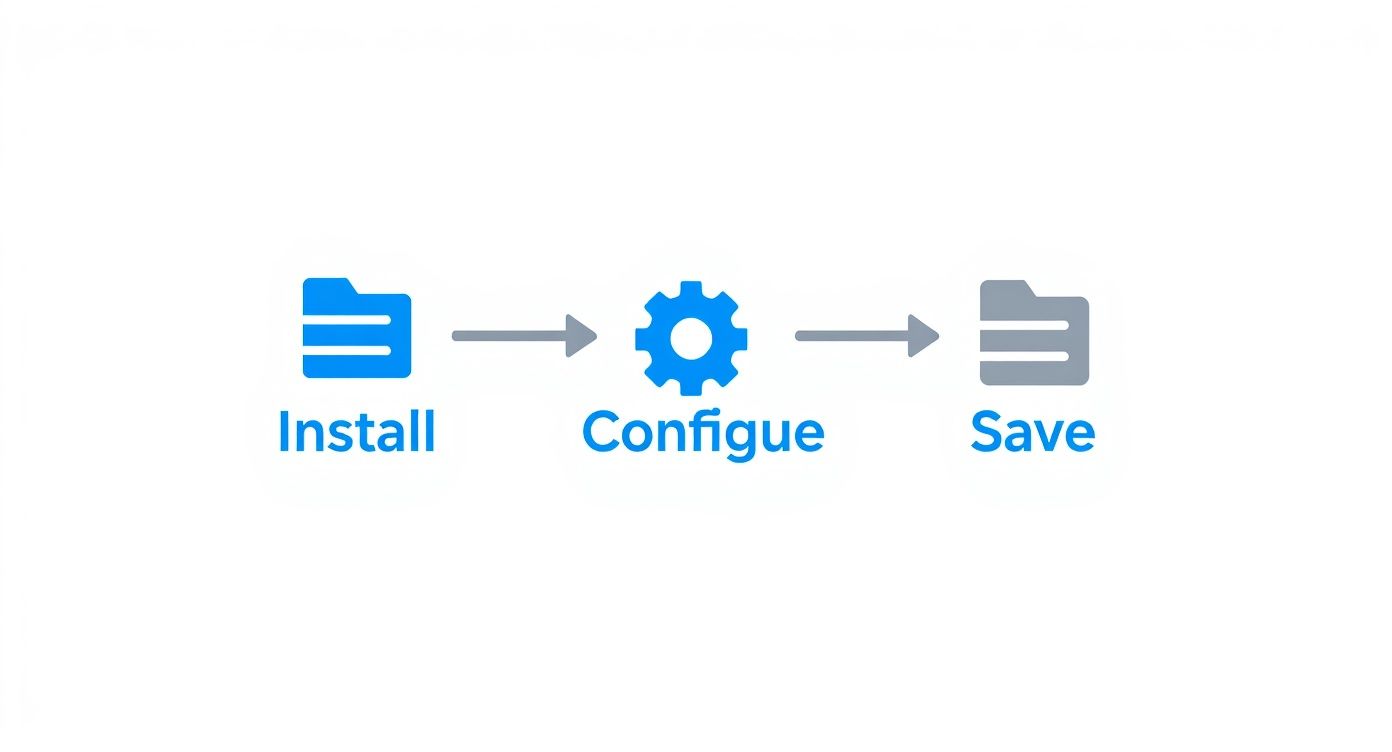
Prima, ti serve l’estensione. Si installa con un clic dal Web Store Chrome.
Poi, indica all’estensione dove salvare le tue guide di studio. Nelle impostazioni di HoverNotes puoi scegliere una cartella di download predefinita. Basta puntarla direttamente sul tuo vault Obsidian.
Una volta impostato, ogni guida di studio che crei si salva automaticamente come un file .md pulito dentro il tuo vault. Niente esportazioni. Niente copia-incolla. Gli appunti compaiono direttamente dove servono.
Questo flusso diretto nel vault rende il sistema efficiente. Elimina l’attrito che impedisce alle persone di prendere appunti con costanza. Per una guida dettagliata, vedi il nostro tutorial su come iniziare con HoverNotes.
Con questo setup locale-prima, la tua base di conoscenza cresce col crescere di ogni video che guardi. Stai costruendo una biblioteca permanente, interconnessa di tutto ciò che impari, e ne hai totale controllo.
Una volta che il setup è pronto, puoi iniziare a catturare informazioni che ti aiutano davvero ad apprendere. Un moderno generatore di guide di studio è un partner attivo che ti aiuta a processare contenuti video complessi.
Il modo più efficiente per iniziare è lasciare che l’AI generi uno schema strutturato del video. Ti dà subito uno scheletro su cui costruire i tuoi appunti. Invece di affrontare una pagina bianca, ottieni concetti chiave, riepiloghi dei capitoli e termini importanti già disposti. Questo ti libera per concentrarti sulla comprensione del materiale, non solo sulla trascrizione.
Questo semplice flusso di installazione, configurazione e salvataggio elimina l’attrito che fa desistere le persone dal prendere appunti. Puoi passare dal guardare un video all’avere una guida di studio strutturata nella tua base di conoscenza in pochi minuti.
La maggiore debolezza della maggior parte degli strumenti video è la loro dipendenza dalle trascrizioni. Una trascrizione non può mostrarti una riga di codice, un diagramma complesso o una fase di una demo software. Qui il contesto visivo è tutto.
Uno strumento come HoverNotes non si limita ad ascoltare; guarda il video fotogramma per fotogramma per catturare ciò che c’è sullo schermo. Per chi studia una materia tecnica, questo è un vantaggio significativo.
Con una funzione come 'Snip Capture,' puoi catturare solo il diagramma specifico o il blocco di codice che ti serve — non tutto lo schermo. Quell’immagine viene inserita direttamente nei tuoi appunti, proprio dove serve.
Ogni screenshot include anche un timestamp cliccabile. Un clic ti riporta esattamente a quel momento nel video. Questo fa risparmiare un’enorme quantità di tempo durante la revisione.
Confrontiamo il prendere appunti manuale con un approccio assistito dall’AI.
#Appunti manuali vs. generatore di guide di studio assistito da AI
Caratteristica
Appunti Manuali
Generatore di Guide Assistito da AI
Schema Iniziale
Partire da zero; richiede pause costanti.
L'AI genera uno schema strutturato in pochi secondi.
Elementi Visivi
Cattura screenshot manualmente, ritaglia e incolla.
Un clic su 'Snip Capture' incorpora gli elementi visivi all’istante.
Timestamp
Annotare gli orari a mano (es. "12:45").
I timestamp cliccabili sono aggiunti automaticamente.
Trascrizione
Scrivere tutto a mano o usare uno strumento separato.
Include una trascrizione completa e sincronizzata.
Multilingua
Limitato dalle proprie competenze linguistiche.
Traduce automaticamente contenuti in altre lingue.
La differenza è chiara: uno strumento assistito dall’AI gestisce il lavoro noioso della cattura permettendoti di concentrarti sull’apprendimento.
Un grande vantaggio dell’uso dell’AI è la sua capacità di funzionare attraverso le lingue. Questo apre un mondo di contenuti educativi prima inaccessibili.
Per esempio, puoi guardare un tutorial tecnico in giapponese e ricevere subito i tuoi appunti e riepiloghi in inglese. L’AI gestisce la traduzione mentre genera la guida di studio, così puoi concentrarti sui concetti. Questa è una funzione potente per chi studia le lingue e chiunque voglia accedere a conoscenze globali.
Le migliori guide di studio combinano la cattura automatica con le tue intuizioni personali. Usa lo schema generato dall’AI come base, poi aggiungi tue domande, crea collegamenti con altri argomenti e chiarisci i punti con parole tue.
Questo metodo ibrido ti dà la velocità dell’AI e il pensiero critico profondo che solo tu puoi offrire. Per vedere come funziona, dai un’occhiata alla nostra guida su come trascrivere efficacemente un video YouTube come parte di questo flusso.
#Organizzare gli appunti per una migliore memorizzazione
Catturare informazioni è solo l’inizio. Un generatore di guide di studio aiuta a trasformare le informazioni grezze in qualcosa che ricorderai davvero. Una cartella piena di screenshot e una trascrizione grezza non è una guida di studio, è un deposito di dati. Trasformarla in conoscenza richiede un sistema.
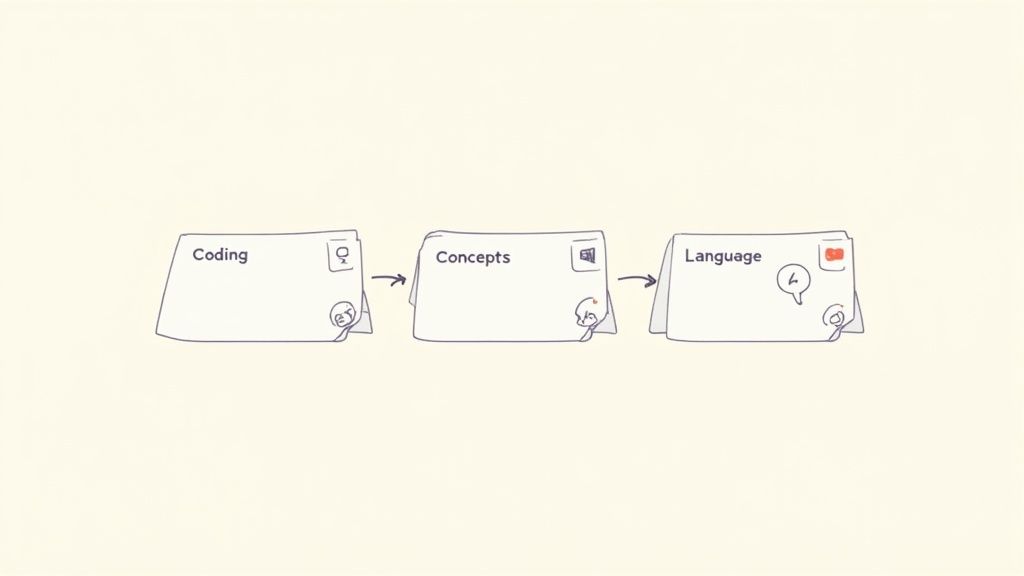
Il modo migliore di organizzare i tuoi appunti dipende da cosa stai imparando. Una guida per un tutorial di programmazione deve essere diversa da una per una lezione di filosofia. Ecco alcuni modelli che puoi usare per strutturare i tuoi appunti.
Quando impari una competenza tecnica, il processo e i dettagli visivi sono quello che conta. Il codice sullo schermo, gli elementi dell’interfaccia cliccati, l’output nel terminale — una trascrizione da sola è quasi inutile qui.
I tuoi appunti devono dare priorità a prove visive e passaggi concreti.
Riepilogo dei concetti chiave: Parti con una visione d’insieme. Usa un riepilogo generato dall’AI per stabilire l’obiettivo, per esempio, "Questo video mostra come configurare un server Express di base."
Blocchi di codice e screenshot: Questa è la parte centrale della tua guida. Usa la funzione "Snip Capture" per catturare snippet di codice o elementi dell’interfaccia. Uno strumento come HoverNotes li integra direttamente nei tuoi appunti.
Le tue annotazioni: Qui avviene l’apprendimento. Sotto ogni screenshot, spiega con parole tue. Perché hanno scritto quella riga di codice? Cosa fa quel pulsante?
Timestamp cliccabili: Assicurati che ogni elemento visivo abbia un timestamp. Se il tuo codice genera un errore dopo, puoi cliccare lo screenshot per tornare esattamente al momento nel video in cui quella funzione è stata spiegata.
Questo approccio trasforma i tuoi appunti in uno strumento di debug interattivo. Invece di cercare manualmente in un video di 45 minuti una riga di codice, trovi il momento preciso in pochi secondi.
Con argomenti concettuali, è fondamentale la connessione tra le idee. Stai costruendo una mappa mentale, e la tua guida di studio è la sua base.
La struttura è simile a uno schema tradizionale, ma con funzioni interattive.
Schema generato dall’AI: Usa il riepilogo AI come scheletro. È eccellente nel cogliere argomentazioni principali o blocchi cronologici.
Termini chiave e definizioni: Crea una sezione dedicata al vocabolario. Mentre guardi, estrai termini poco familiari e definiscili con parole tue.
Domande e collegamenti: Poni domande direttamente negli appunti. "Perché quell’evento ha portato a questo?" o "Come si collega a ciò che ho imparato la settimana scorsa?" Questo prepara il cervello a un richiamo migliore.
Diagrammi e linee temporali: Usa screenshot per catturare diagrammi, mappe o grafici importanti. Gli elementi visivi spesso sbloccano relazioni complesse.
La nostra guida su come migliorare la memorizzazione nell’apprendimento da video spiega le basi scientifiche dietro perché queste tecniche di richiamo attivo funzionano.
Imparare una lingua si basa su ripetizione, contesto e associazione. La tua guida di studio deve essere una risorsa pratica per la revisione quotidiana.
Lista di vocaboli con screenshot: Quando appare una parola o frase nuova, scatta uno screenshot della scena. Questo collega la parola a un ricordo visivo, più potente di una semplice definizione testuale.
Regole grammaticali spiegate: Cattura la spiegazione di un concetto grammaticale usando appunti AI. Poi aggiungi i tuoi esempi per fissarlo meglio.
Esercizi pratici: Concludi ogni guida con domande pratiche. Per esempio, "Scrivi tre frasi usando il congiuntivo."
L’obiettivo è sempre creare un patrimonio di conoscenza riutilizzabile, non una semplice trascrizione. Organizzare gli appunti con una struttura chiara fin dall’inizio rende ogni sessione di revisione più efficace.
#Collegare gli appunti alla tua base di conoscenza
Una guida di studio è più potente quando non è un’isola. Per costruire conoscenza duratura, i tuoi appunti devono collegarsi a tutto ciò che stai imparando. Questo ultimo passo riguarda l’integrazione delle nuove note video nel tuo sistema di Gestione della Conoscenza Personale (PKM).
Non si tratta solo di archiviare; si tratta di rendere i tuoi insight ricercabili, collegabili e parte di una libreria permanente. Stai costruendo un patrimonio che ti servirà per anni.
Se sei un utente di Obsidian, questa parte è semplice. Poiché alcuni strumenti salvano gli appunti come file plain Markdown (.md), puoi indirizzarli a scaricarli direttamente nel tuo vault Obsidian. Così eviti esportazioni manuali o conversioni di formato.
Nel momento in cui il file arriva nel tuo vault, fa parte del tuo grafo della conoscenza. Puoi subito:
Collegarlo ad appunti esistenti usando [[wikilinks]].
Taggarlo per una facile filtrazione (per esempio, #python o #neuroscience).
Cercarlo con la ricerca globale di Obsidian.
Questo approccio locale-prima è cruciale per la proprietà dei dati. Possiedi i file. Sono semplici file di testo sul tuo computer — non bloccati in un cloud proprietario. Puoi spostarli, fare backup o usare strumenti da linea di comando come grep su di essi.
Per un approfondimento su questo setup, consulta la nostra guida sull’integrazione HoverNotes e Obsidian che automatizza tutto il flusso.
Anche gli utenti di Notion possono costruire un sistema efficiente. Pur non avendo l’integrazione di salvataggio diretto come nelle app locali-prima, la chiave è preservare il formato e le immagini durante il trasferimento.
Il flusso è semplice: una volta pronta la guida di studio, copia l’intera nota. Un buon generatore di guide di studio garantisce che, incollando in una pagina di Notion, tutto — titoli, elenchi puntati e screenshot incorporati — si trasferisca pulito. Così eviti la noiosa riformattazione e puoi archiviare rapidamente la nuova conoscenza.
#Domande frequenti sui generatori di guide di studio
Quando cerchi modi migliori per imparare dai video, emergono alcune domande ricorrenti. Ecco le risposte alle più comuni.
Dipende dallo strumento. Molte app sono fatte solo per YouTube, limitando molto.
Una soluzione migliore è un’estensione browser progettata per funzionare su qualsiasi player video. È così che opera uno strumento come HoverNotes. Funziona su piattaforme di corsi come Udemy e Coursera, portali universitari e persino siti interni di formazione. Puoi usarlo anche su file video locali trascinati nel browser, rendendolo uno strumento universale di cattura.
#E se preferisco prendere i miei appunti senza AI?
È un approccio valido. L’atto di scrivere e riassumere da solo è un potente modo per fissare l’informazione. Un buon generatore di guide di studio dovrebbe supportare anche questo.
Puoi usare HoverNotes senza funzioni AI. Hai comunque la modalità video senza distrazioni, screenshot con timestamp a un clic e lo strumento Snip Capture — tutto gratuito. Offre uno spazio strutturato per prendere appunti con strumenti migliori di un semplice editor di testo.
Questa è una domanda fondamentale per chi tiene alla privacy dei dati o usa app locali-prima come Obsidian.
Molti strumenti sono cloud-based, ma altri sono progettati con filosofia locale-prima. Strumenti di questo tipo salvano tutto direttamente sul tuo computer come file standard Markdown (.md). Questo significa che i tuoi appunti non lasciano mai la tua macchina, possiedi la tua conoscenza permanentemente e tutto funziona offline.
Qui gli strumenti basati solo su trascrizioni falliscono. Per contenuti tecnici serve un generatore di guide di studio che possa vedere il video, perché il contesto è visivo.
Funzioni come screenshot con timestamp e "Snip Capture" specifico per aree sono essenziali. Puoi catturare solo lo snippet di codice dallo schermo o isolare un diagramma e inserirlo direttamente negli appunti.
Quel timestamp cliccabile ti fa tornare al momento esatto del video in cui il concetto è stato spiegato. Fa risparmiare ore di ricerca quando devi rivedere un dettaglio specifico.
Anche senza AI, la modalità senza distrazioni e gli screenshot con timestamp in HoverNotes valgono la pena di essere provati. Hai 20 minuti di crediti AI gratuiti per testare il funzionamento, senza richiedere carta di credito. Provalo su https://hovernotes.io. Controlla le opzioni attuali sulla pagina prezzi HoverNotes.
Esplora le note di YouTube / consigli e strumenti per prendere appunti su YouTube per migliorare la memorizzazione e organizzare il tuo apprendimento dai video.
gli appunti video AI analizzano immagini e audio per migliorare apprendimento e memorizzazione. Scopri perché questo approccio supera i metodi basati solo sull'audio.