Udemy Captura de pantalla en pantalla negra: Cómo capturar notas de forma fiable | HoverNotes
General6 de diciembre de 2025•Updated: 16 de julio de 2026
Udemy Captura de pantalla en pantalla negra: Cómo capturar notas de forma fiable
Captura de pantalla de Udemy: pantalla negra solucionada: aprende por qué ocurre esto (DRM) y cómo capturar notas visuales claras de manera fiable para tus sesiones de estudio.
Por HoverNotes Team•10 min de lectura
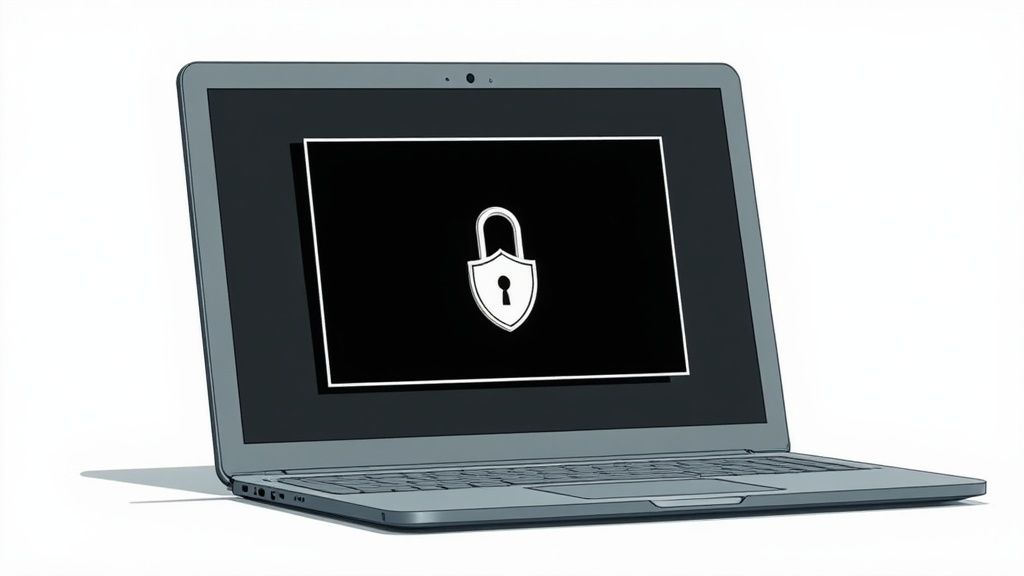
¿Alguna vez has intentado capturar una imagen de un esquema crucial en un curso de Udemy, solo para obtener un rectángulo negro? No eres el único. Esto no es un fallo. Es una característica intencional llamada Gestión Digital de Derechos (DRM).
Plataformas como Udemy utilizan DRM para proteger su contenido de ser copiado y distribuido ilegalmente. Aunque esto es justo, crea un problema real para los estudiantes serios que solo quieren capturar un fragmento de código o una fórmula compleja para sus notas. Esa pantalla negra frustrante es una señal de que la protección está funcionando según lo diseñado. La constante pausa y cambio entre el video y una aplicación de notas aparte es tedioso y rompe tu flujo de aprendizaje.
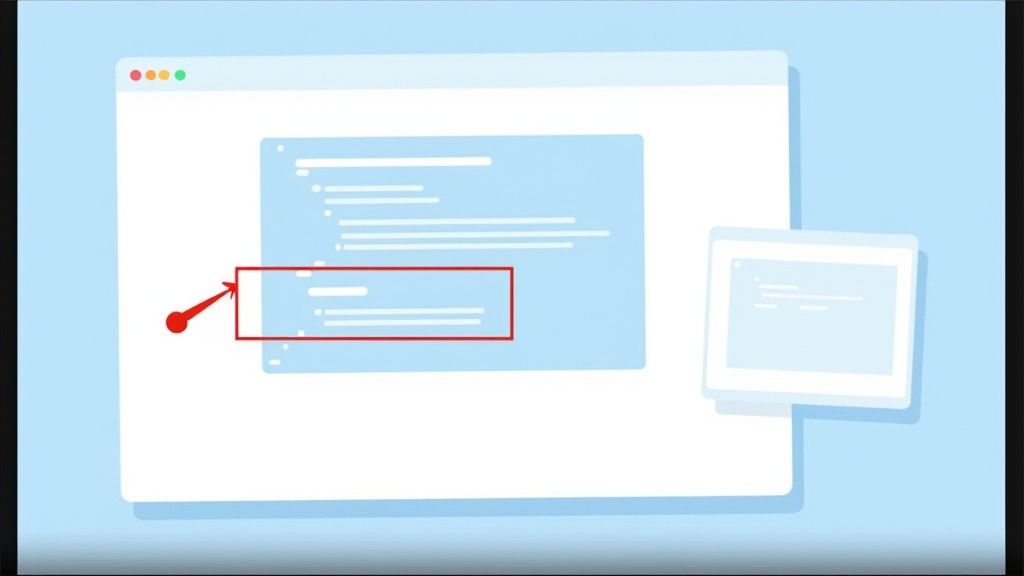
Cuando usas una herramienta estándar para capturas de pantalla (Cmd+Shift+4 en Mac, Herramienta Recortes en Windows), la tecnología DRM intercepta la solicitud. Le indica a tu sistema operativo que capture una capa en blanco en lugar del contenido real del video. Por eso obtienes una pantalla negra en lugar de la información útil que necesitas.
La captura de pantalla muestra un rectángulo negro.
Encriptación DRM: El flujo de video está encriptado. Tu sistema operativo está bloqueado para no ver los cuadros de video desencriptados.
Las herramientas estándar de captura no pueden acceder a los datos visuales y capturan una imagen en blanco.
La grabación de pantalla muestra un video negro.
HDCP (Protección de Contenido Digital de Banda Ancha): Una protección a nivel de hardware que impide copiar video digital.
El software de grabación recibe una señal negra porque no puede decodificar el contenido protegido.
Las capturas funcionan en algunos cursos pero no en otros.
Implementación variable de DRM: Los instructores pueden elegir el nivel de protección para su contenido.
La capacidad de tomar capturas es inconsistente e poco confiable.
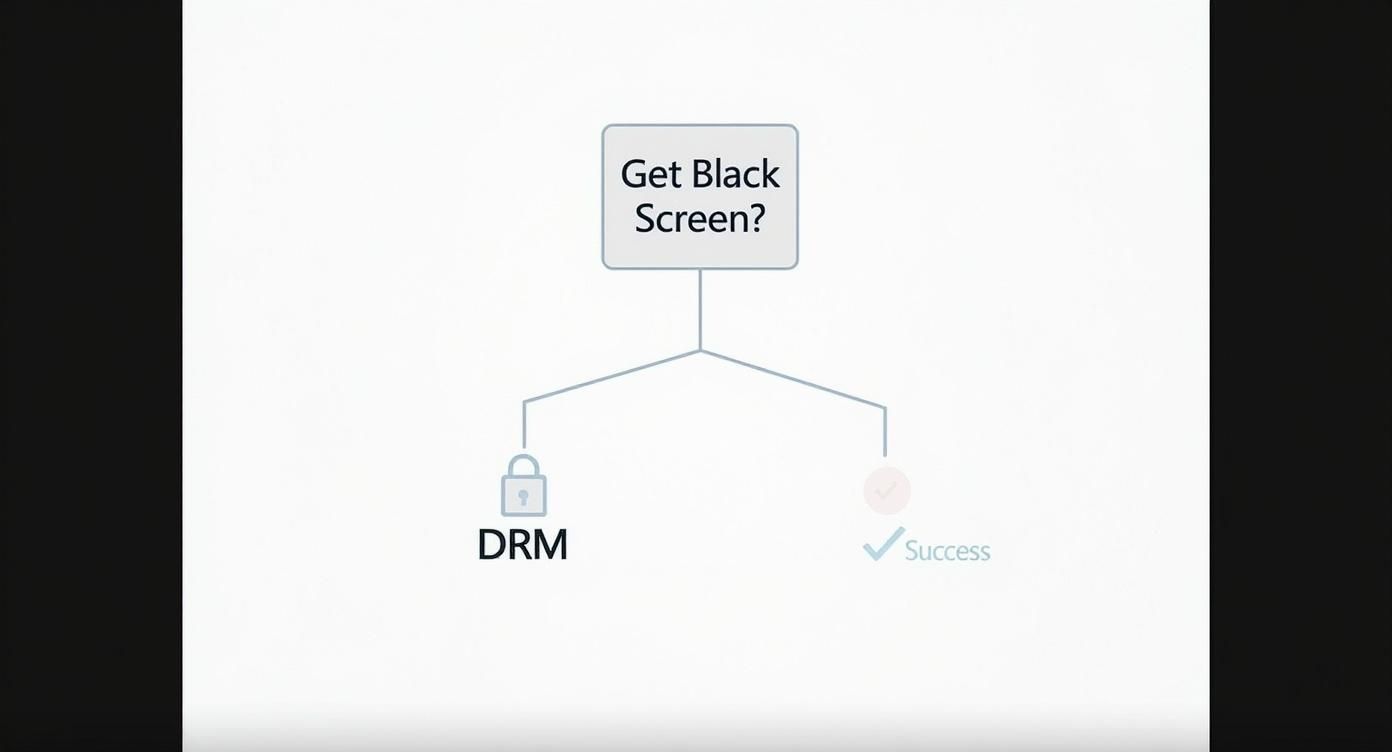
Al final, intentar "arreglar" la pantalla negra con ajustes del sistema es un callejón sin salida. Es una función de seguridad, no un error que puedas corregir.
Este árbol de decisiones lo resume.
Una vez que entiendes que DRM es la causa, puedes dejar de buscar un "arreglo" y empezar a buscar un mejor flujo de trabajo. El objetivo no es evitar la seguridad, sino usar un método que funcione con las limitaciones del reproductor de video para capturar notas de forma efectiva. Aquí es donde herramientas con controles de video más avanzados pueden ayudar, ofreciendo una manera confiable de interactuar con el contenido del curso sin activar bloqueos DRM.
Si has buscado una solución, probablemente has visto el mismo consejo repetido: "desactiva la aceleración por hardware en tu navegador." Los hilos de foro de hace unos años están llenos de estas sugerencias.
Déjame ahorrarte tiempo: esos trucos están obsoletos. Aunque pudieron funcionar como un agujero temporal en el pasado, hoy son casi completamente ineficaces.
Las plataformas de contenido y los navegadores están en una carrera constante. Una actualización de Google Chrome, Firefox o del reproductor de video de Udemy puede parchear al instante los agujeros que esos métodos antiguos explotaban.
En lugar de luchar una batalla perdida con soluciones anticuadas, necesitas una herramienta diseñada para trabajar con el video, no en su contra. Una extensión Chrome para tomar notas bien diseñada puede capturar el cuadro visual antes de que la protección DRM lo bloquee, dándote una manera confiable de obtener las capturas que necesitas para tus notas.
#Deja de luchar con la pantalla negra y empieza a capturar notas
En lugar de batallar con configuraciones del navegador, un mejor enfoque es usar una herramienta diseñada para funcionar junto al reproductor de video. Así, puedes dejar de intentar "arreglar" la pantalla negra y adoptar un flujo de trabajo más inteligente para aprender.
Una extensión de navegador hecha a propósito puede engancharse directamente con el contenido del video. Esto le permite capturar el cuadro visual antes de que DRM tenga la oportunidad de bloquearlo, evitando por completo la pantalla negra que obtienes con herramientas estándar de captura.
#Una herramienta diseñada para cómo la gente realmente aprende
HoverNotes es una extensión Chrome que mira videos contigo, genera notas con IA y las guarda como Markdown directamente en tu sistema de archivos. Porque funciona dentro del navegador, captura confiablemente capturas de pantalla de plataformas protegidas como Udemy, Coursera y LinkedIn Learning.
Esto significa que finalmente puedes capturar ese esquema complejo o bloque de código e integrarlo directamente en tus notas. El proceso cambia de simplemente tomar una imagen cualquiera a crear un recurso de aprendizaje integrado. Cada captura incluye una marca de tiempo clicable—un clic te lleva a ese momento exacto en el video. Esto es crucial para la retención, ya que el contexto visual importa; las transcripciones por sí solas no incluyen esquemas, código en pantalla ni demostraciones.
Deja de luchar contra la seguridad de la plataforma. Usa un flujo de trabajo que la respete pero que también satisfaga tus necesidades de aprendizaje. Se trata de capturar conocimiento, no solo pixeles.
Si eres serio en construir una base de conocimiento real, puedes aprender más sobre cómo tomar notas Udemy efectivas y hacerlas parte fundamental de tu sistema de estudio.
¿La mejor parte? Este método funciona en cualquier sitio con video—desde grandes plataformas de cursos como Coursera hasta tutoriales de YouTube e incluso portales internos universitarios. Obtienes una manera constante y confiable de capturar información visual, sin importar dónde aprendas.
#Convierte capturas dispersas en un sistema de estudio organizado
Tomar una captura de pantalla es una cosa. Hacer que sea útil es otra.
Para la mayoría, las capturas terminan en un cementerio digital—una carpeta en el escritorio llena de archivos llamados Screen Shot 2024-10-26...png sin ninguna conexión con las notas a las que pertenecen. El verdadero valor viene de integrar esas imágenes directamente en tu flujo de estudio.
El método antiguo—guardar una imagen, cambiar a una app de notas, escribir—está roto. Crea una brecha entre lo que ves y lo que escribes, forzándote a cambiar constantemente de contexto y buscar archivos después.
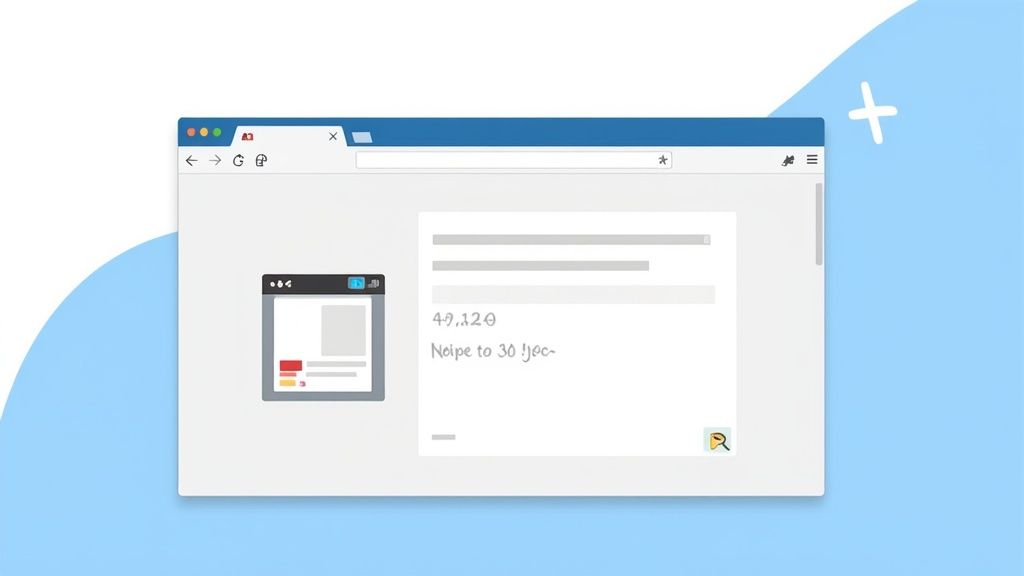
Imagina esto en cambio: capturas una imagen y ésta aparece instantáneamente dentro de tus notas, vinculada automáticamente al momento exacto en el video.
Con una herramienta como HoverNotes, cada captura incluye una marca de tiempo clicable. Un clic te lleva de vuelta a ese punto de la clase. Ya no coleccionas imágenes al azar; estás construyendo una base de conocimiento interactiva.
En lugar de una carpeta llena de nombres crípticos, tus imágenes están integradas justo donde tienen sentido—dentro de tus notas.
Para los usuarios de Obsidian, este flujo de trabajo es perfecto. Todas las notas e imágenes se guardan como archivos Markdown locales en tu equipo. Tú eres dueño de tu conocimiento. Sin sincronización en la nube, sin formatos propietarios—solo archivos de texto planos que son buscables, portátiles y permanentes.
Este proceso integrado funciona para cualquier fuente de video. Puedes ver cómo convertir un video YouTube a notas usando el mismo método.
La diferencia entre la forma antigua y un enfoque moderno e integrado es abismal.
Método
Contexto de la captura
Sincronización con video
Organización
Método antiguo (capturas estándar)
Perdido. El archivo de imagen está completamente separado de tus notas.
Ninguna. Tienes que buscar manualmente en el video para encontrar el contexto.
Un desorden. Carpetas con imágenes al azar y un archivo de texto separado.
Método integrado (HoverNotes)
Integrado. La captura está al lado de la nota relevante.
Automático. Haz clic en la imagen para ir a la marca de tiempo exacta en el video.
Centralizado. Todo vive junto en un archivo organizado y buscable.
Al final, el objetivo no es solo tomar capturas—es construir un recurso que te ayude a recordar y volver a comprometerte con lo aprendido mucho después de que termine el curso.
Seamos honestos: mucho de lo que hay en pantalla durante un video es ruido. Rara vez necesitas la cara del instructor o las pestañas de tu navegador—solo quieres esa fórmula específica en la pizarra o las líneas de código en el editor.
Aquí, snip capture es una forma mucho más inteligente de sortear el problema Udemy screenshot - black screen.
En lugar de captar toda la pantalla y recortar después, puedes seleccionar y capturar solo la región más importante del video. Si estás en un tutorial de Python, puedes recortar solo la función que se explica y dejar lo demás fuera.
Herramientas diseñadas para aprender, como HoverNotes, te permiten incrustar este recorte enfocado directamente en tus notas. Esto mantiene tu material de estudio limpio, organizado y directamente vinculado a lo que intentas aprender. Es un pequeño ajuste en el flujo de trabajo que hace que tomar notas sea mucho más rápido y eficiente.
Al capturar solo la información visual esencial, tus materiales de estudio se vuelven más densos y valiosos. Eliminas el desorden, haciendo que las sesiones de repaso sean mucho más eficaces.
La capacidad de captar exactamente lo que necesitas es parte fundamental de un flujo de aprendizaje eficiente. Puedes aprender más sobre distintos métodos de captura de pantalla que se integran directamente con tus notas.
Aquí tienes algunas respuestas rápidas a preguntas comunes sobre cómo capturar visuales de cursos Udemy.
#¿Está bien hacer capturas de pantalla de cursos Udemy?
Para tus notas personales de estudio, sí. Esto generalmente se considera uso justo. La palabra clave es personal. Compartir o publicar contenido protegido públicamente es una violación de los términos de Udemy y la ley. Los métodos discutidos aquí son para ayudarte a aprender mejor, no para redistribuir contenido.
#¿Funcionarán estos métodos en Coursera u otras plataformas?
Sí. La herramienta basada en navegador que cubrimos es independiente de la plataforma. Funciona interactuando con el reproductor de video, no con el código específico de un sitio web. Así que, ya sea que estés en Coursera, LinkedIn Learning o un portal universitario privado, esta solución debería funcionar confiablemente.
#¿Tengo que pagar solo para hacer capturas en Udemy?
No. Si usas una herramienta como HoverNotes, todas las funciones manuales son gratuitas. Esto incluye tomar capturas de pantalla con marcas de tiempo ilimitadas usando el modo de captura completa o recorte, usar el modo de video sin distracciones y escribir tus propias notas. La generación de notas con IA es una función opcional. Incluso sin IA, el modo sin distracciones y las capturas valen la pena.
Consejo profesional para usuarios de Obsidian: Si estás construyendo una base de conocimiento en Obsidian, HoverNotes es una opción ideal. Guarda todas tus notas y capturas como archivos Markdown limpios directamente en tu bóveda local. Tus notas te pertenecen a ti.
Aprende cómo aprender más rápido y recordar más con estrategias comprobadas y respaldadas por la ciencia para la recuperación activa, la toma de notas y rutinas de estudio eficientes.
Crea un sistema potente para notas de cursos en línea, desde la captura y organización hasta la revisión a largo plazo, y nunca olvides lo que aprendes.
¿Tienes dificultades para tomar notas en MOOC en Coursera o edX? Aprende un método comprobado para organizar, retener y aplicar el conocimiento de cursos largos sin agotarte.