Cómo tomar apuntes de las clases en vídeo de la universidad | HoverNotes
General11 de enero de 2026
Cómo tomar apuntes de las clases en vídeo de la universidad
Domina la toma de apuntes de las clases en vídeo con un sistema práctico para capturar ideas clave rápidamente en Canvas, Blackboard o cualquier portal universitario.
Por HoverNotes Team•16 min de lectura
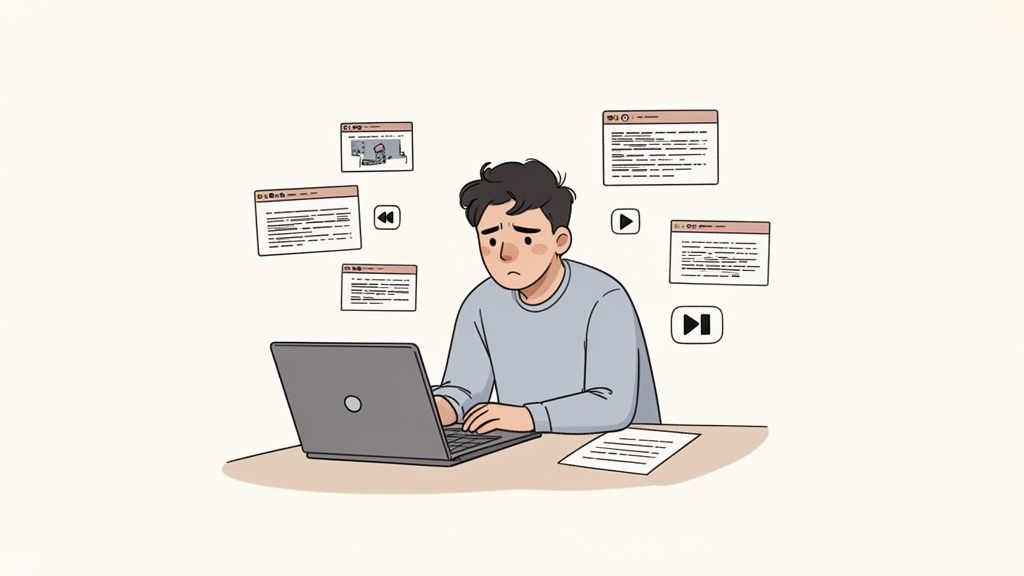
Estás frente a una clase grabada de dos horas y le das al play. A los cinco minutos, ya estás en el bucle: pausa, rebobina, escribe, pierdes el hilo. Repite.
Esto no es solo frustrante, es un sistema roto. Ver un vídeo de forma pasiva, incluso con buenas intenciones, significa que la mayor parte de esa información desaparece en cuestión de días. Tu tiempo de estudio se desperdicia.
Un sistema eficaz para tomar apuntes de las clases en vídeo tiene que ser diferente. Debe combinar la participación activa con herramientas inteligentes para construir una base de conocimiento permanente y con capacidad de búsqueda que realmente poseas y controles.
#Por qué tus apuntes actuales de las clases en vídeo no funcionan
Seamos directos. El ciclo constante de pausar para ponerte al día, rebobinar para escuchar una frase clave y perder el hilo de tus pensamientos es agotador e ineficaz.
Muchos estudiantes terminan simplemente transcribiendo las palabras del profesor. ¿El resultado? Una pared de texto completamente desconectada de los diagramas, fórmulas o ejemplos de código en la pantalla. Cuando repasas para un examen una semana después, esos apuntes son casi inútiles sin el contexto visual original. Este es un problema común de retención en el aprendizaje en vídeo: la gente mira, pero no recuerda.
Esto no es solo una sensación. Sin recordar o externalizar activamente lo que has aprendido, estás librando una batalla perdida contra la eficiencia de tu cerebro.
La "curva del olvido" muestra que puedes perder entre el 50 y el 80 % de la información nueva en cuestión de días sin un esfuerzo real por recordarla. Esto es especialmente cierto para las clases en vídeo que se consumen de forma pasiva. Si estás buscando formas de superar esto, nuestra guía sobre cómo tomar apuntes de estudio ofrece métodos prácticos.
La psicología cognitiva es clara: sin resumir o practicar la recuperación, la retención se desploma. Combina eso con horas de contenido de vídeo y obtendrás una gran inversión de tiempo para muy poco conocimiento duradero.
#El caos de las capturas de pantalla dispersas y los riesgos de privacidad
La solución común (tomar capturas de pantalla) crea un tipo diferente de desorden. Tu carpeta de escritorio se desborda con archivos de imagen con nombres aleatorios, completamente desconectados de tus apuntes de texto. Buena suerte para volver a armar ese rompecabezas durante la semana de exámenes.
Una carpeta de capturas de pantalla dispersas es casi inútil para repasar. Para ser eficaz, el contexto visual debe incrustarse directamente donde corresponda en tus apuntes.
Por último, hay un problema grave: la privacidad y la propiedad de los datos. Tus apuntes de clase contienen la propiedad intelectual de la universidad y tu propio trabajo académico. El uso de herramientas en línea que suben este contenido a un servidor de terceros es un gran riesgo para la privacidad. Tus materiales académicos deben ser de tu propiedad, almacenados localmente en tu máquina, no bloqueados en la nube de otra persona. Esto no es negociable para un trabajo académico serio.
#Construye tu espacio de trabajo digital para tomar apuntes de forma concentrada
Antes de darle al "play", unos minutos de preparación pueden marcar la diferencia. El objetivo es crear un entorno limpio y concentrado que te ayude a absorber la información, no construir un sistema complicado que se interponga en tu camino.
Este flujo de trabajo funciona en cualquier portal universitario, desde Blackboard y Canvas hasta Panopto o un sitio creado a medida.
En primer lugar, organiza tu pantalla. Pon el vídeo de la clase en un lado y tu aplicación para tomar apuntes en el otro. Esta configuración lado a lado elimina el baile que destroza la concentración de cambiar entre ventanas. Cierra todas las demás pestañas y activa el modo "No molestar" de tu ordenador.
La aplicación que elijas tiene un gran impacto en si tus apuntes se convierten en un activo valioso o en un cajón de sastre digital. Para el trabajo académico, el uso de una aplicación local como Obsidian o Logseq es una opción práctica. Si tienes un dispositivo Apple, encontrar el ajuste adecuado es crucial; puedes echar un vistazo a algunas de las mejores aplicaciones para tomar apuntes para Mac para ver lo que hay por ahí.
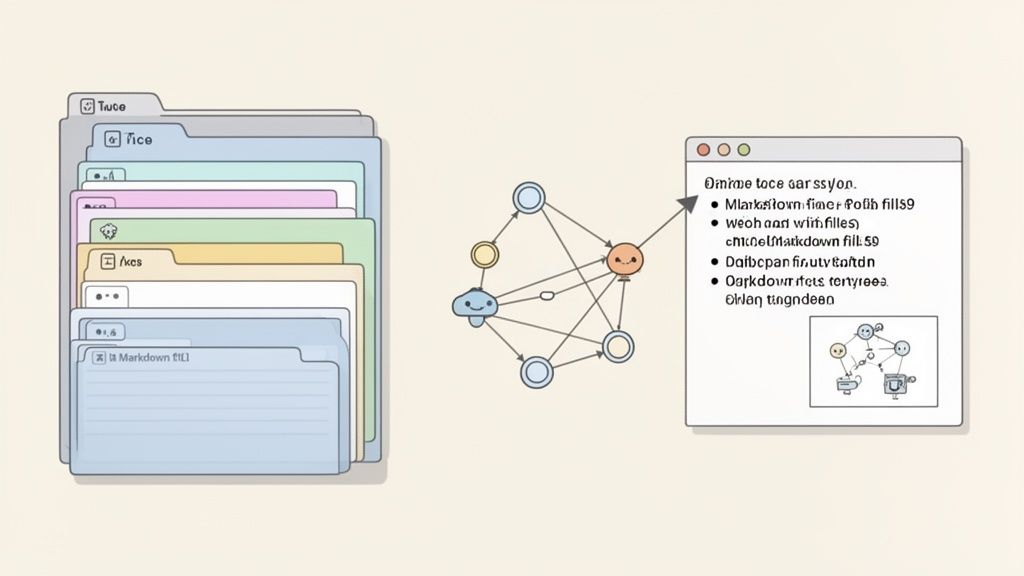
La principal ventaja de estas herramientas es la propiedad. Todos tus apuntes se guardan como archivos Markdown (.md) simples en tu ordenador.
Eres el propietario de los archivos. Muévelos, haz copias de seguridad, grepéalos: son solo Markdown. Esto es fundamental para la privacidad académica, ya que garantiza que tu propiedad intelectual y los materiales de la universidad nunca salgan de tu máquina.
Este enfoque local también hace que tu base de conocimientos sea a prueba de futuro. No estás atrapado en un formato propietario ni a merced de una empresa que podría desaparecer. Estás construyendo una biblioteca de conocimiento personal. Si te tomas esto en serio, puedes obtener más información sobre cómo crear una base de conocimientos que te sirva durante años.
Para mantener la coherencia, crea una plantilla sencilla para cada clase nueva. Suena trivial, pero garantiza que tus apuntes estén organizados y se puedan buscar desde el principio.
Aquí tienes una plantilla Markdown básica para copiar y pegar:
#curso: [Código del curso, p. ej., CS101]
clase: [Número o título de la clase]
fecha: [AAAA-MM-DD]
etiquetas: [palabra clave 1, palabra clave 2]
El uso de una plantilla lleva segundos, pero ahorra horas de reorganización más adelante. Establece una base estructurada para que puedas dedicar tu energía mental al contenido, no a la logística de dónde deben ir tus apuntes de las clases en vídeo.
#Un flujo de trabajo en tiempo real para tomar apuntes de las clases
Una vez que tu espacio de trabajo está configurado, es hora de darle al play. El objetivo no es transcribir lo que se está diciendo. Queremos capturar lo que importa para comprender y recordar el material.
Un buen sistema para tomar apuntes combina la automatización inteligente con tu propio pensamiento. Esto convierte la visualización pasiva en una sesión de aprendizaje activa en la que estás construyendo un registro estructurado y permanente.
Intentar escribir cada palabra que dice tu profesor es agotador e ineficaz. Terminas con una pared de texto y cero comprensión. Deja que la IA se encargue del trabajo tedioso.
HoverNotes es una extensión de Chrome que ve vídeos contigo, genera apuntes con IA y los guarda como Markdown directamente en tu sistema de archivos. Puede crear un resumen estructurado mientras ves, liberándote para pensar en lo que se está diciendo en lugar de simplemente esforzarte por escribir. Piensa en los apuntes de la IA como un buen primer borrador.
Tu trabajo es ser el editor. A medida que aparecen los apuntes de la IA, añade tus propias ideas, preguntas o conexiones con otros temas. Este enfoque híbrido es el punto óptimo entre la automatización y el aprendizaje activo que construye la retención.
Este método funciona en cualquier portal universitario (Blackboard, Canvas, Panopto) porque funciona en tu navegador. Si tienes curiosidad por esto, tenemos una guía completa sobre cómo tomar apuntes en vídeos de forma eficaz.
#Captura elementos visuales con capturas de pantalla con marca de tiempo
Gran parte del valor de una clase es visual: el diagrama complejo, la diapositiva crucial, el bloque de código en la pantalla. Las herramientas de transcripción estándar no tienen esto en cuenta porque solo procesan audio.
Una configuración sencilla de tres pasos, como la que se muestra a continuación, garantiza que tu espacio de trabajo digital esté listo para capturar estos elementos visuales clave.
Con una herramienta que integra elementos visuales, puedes colocarlos directamente en tus apuntes de texto, creando una guía de estudio mucho más rica. La toma manual de apuntes mientras se ve un vídeo es difícil porque las capturas de pantalla terminan dispersas y desconectadas.
Tu flujo de trabajo debe hacer que esto sea fácil.
Captura de fotograma completo: Captura toda la diapositiva o el fotograma del vídeo al instante.
Captura de fragmento: Selecciona solo una región específica, como una sola fórmula o parte de un diagrama, para mantener los apuntes limpios.
Aquí está la parte clave: estas capturas deben tener marca de tiempo. A diferencia de las herramientas que solo analizan las transcripciones, HoverNotes ve el vídeo para capturar lo que realmente está en la pantalla. Cada captura de pantalla incluye una marca de tiempo en la que se puede hacer clic: un solo clic te devuelve a ese momento exacto del vídeo. Cuando estás estudiando para un examen, esto ahorra horas de volver a ver el vídeo. Incluso puedes combinar esto con un generador de transcripciones de podcasts con IA para obtener un registro de texto completo para hacer referencias cruzadas de tus apuntes visuales y de texto.
#Cómo organizar y repasar tus apuntes de clase para los exámenes
Tomar apuntes es solo la mitad de la batalla. El verdadero aprendizaje (el tipo que se queda grabado para los exámenes) ocurre cuando organizas y repasas esa información en bruto. Esto convierte una grabación de hechos en una poderosa herramienta de estudio.
Un consejo rápido: guarda siempre tus apuntes en un formato universal como Markdown (.md). Esto garantiza que puedas abrirlos en cualquier dispositivo, para siempre, sin estar bloqueado en una aplicación propietaria.
No necesitas un sistema complicado. Una estructura de carpetas lógica es todo lo que necesitas para mantener organizada tu vida académica. Aquí tienes una configuración que se escala para todo un título:
Universidad/
Semestre 1 - Otoño 2024/
CS101 - Introducción a la programación/
CS101 - Clase 01 - Variables.md
CS101 - Clase 02 - Bucles.md
PSYC203 - Psicología cognitiva/
PSYC203 - Clase 01 - Memoria.md
Esta jerarquía limpia facilita la búsqueda de cualquier apunte específico. Si utilizas una herramienta como Obsidian, esta estructura de carpetas se convierte en la columna vertebral de tu almacén de conocimiento digital.
Ahora vamos con el paso más importante: convertir los apuntes en bruto en algo que entiendas. Esto significa una revisión activa, no solo una relectura.
Después de la clase, repasa tus apuntes y haz estas tres cosas:
Resume la idea principal: En la parte superior de tu apunte, escribe un resumen de dos o tres frases de la clase con tus propias palabras. Si no puedes, es una señal de que no has captado los conceptos básicos.
Extrae los términos clave: Saca el vocabulario, las fórmulas o los nombres importantes. Crea una sección de "Términos clave" y define cada uno. Esto construye un glosario para una revisión rápida.
Conecta tus ideas: Esto es especialmente poderoso en aplicaciones como Obsidian. Enlaza los conceptos de esta clase con otros. ¿Tu profesor de psicología mencionó un sesgo cognitivo que también surgió en economía? Crea un enlace directo entre los dos apuntes. Con el tiempo, construirás un gráfico de conocimiento que saca a la luz conexiones no obvias.
El objetivo es ir más allá de los hechos aislados. Al enlazar ideas, estás construyendo una red de conocimiento que imita la forma en que funciona tu cerebro, lo que facilita el recuerdo bajo la presión del examen.
Si utilizas Obsidian, HoverNotes guarda tus apuntes de las clases en vídeo directamente en tu almacén como archivos Markdown simples, lo que hace que este proceso sea fluido.
Todos hemos intentado estudiar para un examen volviendo a ver horas de clases. Es un terrible uso del tiempo. Tus apuntes deben ser una herramienta de revisión de alta velocidad.
Aquí es donde las capturas de pantalla con marca de tiempo se vuelven tan valiosas. En lugar de buscar en un vídeo para encontrar un diagrama complejo, encuentra la captura de pantalla en tus apuntes. Con un solo clic, vuelves a ese momento exacto del vídeo para una actualización rápida.
Esta revisión específica ahorra una increíble cantidad de tiempo. Céntrate en los cinco o seis diagramas o fórmulas más críticos de cada clase. Hacer clic en estos anclajes visuales puede refrescar tu memoria sobre un tema completo en cuestión de minutos, no horas.
Para una inmersión más profunda, consulta nuestra guía sobre cómo estudiar eficazmente para los exámenes. La organización inteligente y la revisión activa separan las calificaciones aprobatorias de las mejores.
No todas las clases son una presentación de PowerPoint limpia. Los cursos técnicos te lanzan fórmulas densas, fragmentos de código complejos o audio difícil de descifrar. Un sistema para tomar apuntes creado para texto simple fallará aquí.
¿Qué ocurre cuando la calidad del audio es terrible o el profesor tiene un acento marcado? La mayoría de las herramientas que solo transcriben producen galimatías. Aquí es donde una herramienta que ve el vídeo fotograma a fotograma es un salvavidas. Incluso si el audio es un desastre, puede extraer texto y diagramas claros de las diapositivas. Cubrimos este proceso en nuestra guía sobre cómo transcribir un vídeo de YouTube.
Si estás estudiando STEM o informática, la información más importante suele ser visual. Una transcripción podría mencionar "la ecuación de Schrödinger", pero no mostrará la fórmula. Intentar escribir ecuaciones complejas mientras te mantienes al día es una receta para el error.
Este es el escenario perfecto para la captura visual específica. En lugar de capturar toda la pantalla, una función de "captura de fragmento" te permite concentrarte en lo que importa.
Aísla una sola fórmula: Recorta solo la ecuación matemática, no toda la diapositiva.
Captura un bloque de código: Captura solo la función que se está discutiendo para mantener los apuntes limpios.
Guarda un diagrama específico: Saca un gráfico de una diapositiva abarrotada.
Este enfoque mantiene tus apuntes enfocados e incrusta elementos visuales críticos justo donde los necesitas para el contexto.
#Navegar por las barreras lingüísticas y la privacidad
¿Qué ocurre si una clase está en un idioma que no hablas con fluidez? La IA moderna puede generar apuntes en tu idioma nativo, independientemente del idioma del vídeo. Puedes seguir una clase en japonés y obtener un conjunto estructurado de apuntes de las clases en vídeo en inglés.
Un punto crucial sobre la privacidad: el contenido de las clases universitarias es sensible. Cualquier herramienta que suba grabaciones a un servidor de terceros es un riesgo para la seguridad. Una herramienta local que guarde los apuntes directamente en tu máquina es el único enfoque verdaderamente seguro. Tus materiales académicos nunca deben salir de tu control.
Las clases en vídeo son una parte fundamental del aprendizaje para millones de personas. Con una investigación que proyecta que el número de estudiantes en línea podría alcanzar los 57 millones en 2027, confiar en sistemas de toma de apuntes robustos y privados es esencial. Puedes leer la investigación completa sobre estas tendencias de aprendizaje aquí.
Al configurar un flujo de trabajo como este, siempre surgen algunas preguntas. Aquí están las más comunes.
#¿Este método funciona en cualquier plataforma universitaria como Canvas o Panopto?
Sí. El enfoque está diseñado para ser independiente de la plataforma porque utiliza herramientas que viven en tu navegador.
A una extensión de Chrome como HoverNotes no le importa si tu universidad utiliza Canvas, Blackboard, Panopto o un portal personalizado. Funciona en cualquier lugar donde haya un vídeo. Simplemente ve un vídeo reproduciéndose y se pone a trabajar. No se necesita ninguna integración especial, lo que significa que obtienes la misma experiencia de toma de apuntes en todos tus cursos.
#¿Es seguro utilizar tomadores de apuntes con IA con material de clases universitarias?
Esta es una pregunta importante. Para la integridad académica y la privacidad, la opción más segura es una herramienta "local" donde tus datos nunca salgan de tu ordenador.
Muchos tomadores de apuntes con IA envían tu clase a la nube para su procesamiento, un riesgo potencial para la privacidad. Las herramientas creadas teniendo en cuenta la privacidad, como HoverNotes, son locales. Los apuntes permanecen en tu máquina, guardándose directamente como archivos Markdown. Nada se almacena en un servidor central. Mantienes el 100 % de la propiedad y el control sobre tu trabajo académico.
#¿Qué ocurre si prefiero tomar apuntes manualmente en lugar de utilizar la IA?
Esa es una forma perfectamente válida de aprender. El objetivo de este sistema no es dejar que la IA piense por ti, sino encargarse de las partes tediosas para que puedas concentrarte en la comprensión.
Puedes utilizar este flujo de trabajo sin tocar las funciones de IA. HoverNotes tiene un "modo de vídeo" sin distracciones que coloca el vídeo y un editor de texto uno al lado del otro. Puedes escribir tus propios apuntes mientras sigues utilizando funciones como las capturas de pantalla con marca de tiempo con un solo clic o los recortes de elementos visuales de las diapositivas. ¿No quieres la IA? Simplemente utiliza el editor, las capturas de pantalla y los controles de vídeo: son gratuitos.
Sigues haciendo el aprendizaje activo, pero has automatizado las tareas molestas que interrumpen el flujo de pausar, hacer capturas de pantalla y organizar imágenes.
Puedes elegir las partes del sistema que resuelven tus mayores dolores de cabeza mientras mantienes el control total sobre cómo tomas apuntes.
Incluso sin la IA, el modo sin distracciones y las capturas de pantalla con marca de tiempo en HoverNotes merecen la pena para un estudio concentrado. Puedes probarlo gratis y obtener 20 minutos de créditos de IA: no se requiere tarjeta de crédito.
Descubre los mejores plugins de Obsidian para aprender en 2026. Un stack completo que incluye captura de video, repetición espaciada, dataview y excalidraw para estudiantes.
¿Buscas una alternativa a Fathom AI para estudiantes? Explora herramientas de aprendizaje en video que capturan notas visuales, no solo transcripciones, para YouTube y Coursera.
Deja de olvidar lo que ves en los cursos online. Aprende un flujo de trabajo práctico para tomar apuntes de video que mejoran la retención y se integran con tu base de conocimientos.