Udemy screenshots come out black because some courses are copy-protected. Three ways to take screenshots on Udemy, and what to do when one fails.
By HoverNotes Team•9 min read
To take a screenshot on Udemy without a black screen, turn off graphics acceleration in your browser and try again. In Chrome, open Settings → System, switch off "Use graphics acceleration when available", and relaunch. Then use Win+Shift+S on Windows or Cmd+Shift+4 on Mac. Udemy copy-protects only some courses; on those, a capture made inside the browser, such as a note-taking extension's screenshot button, is the next thing to try.
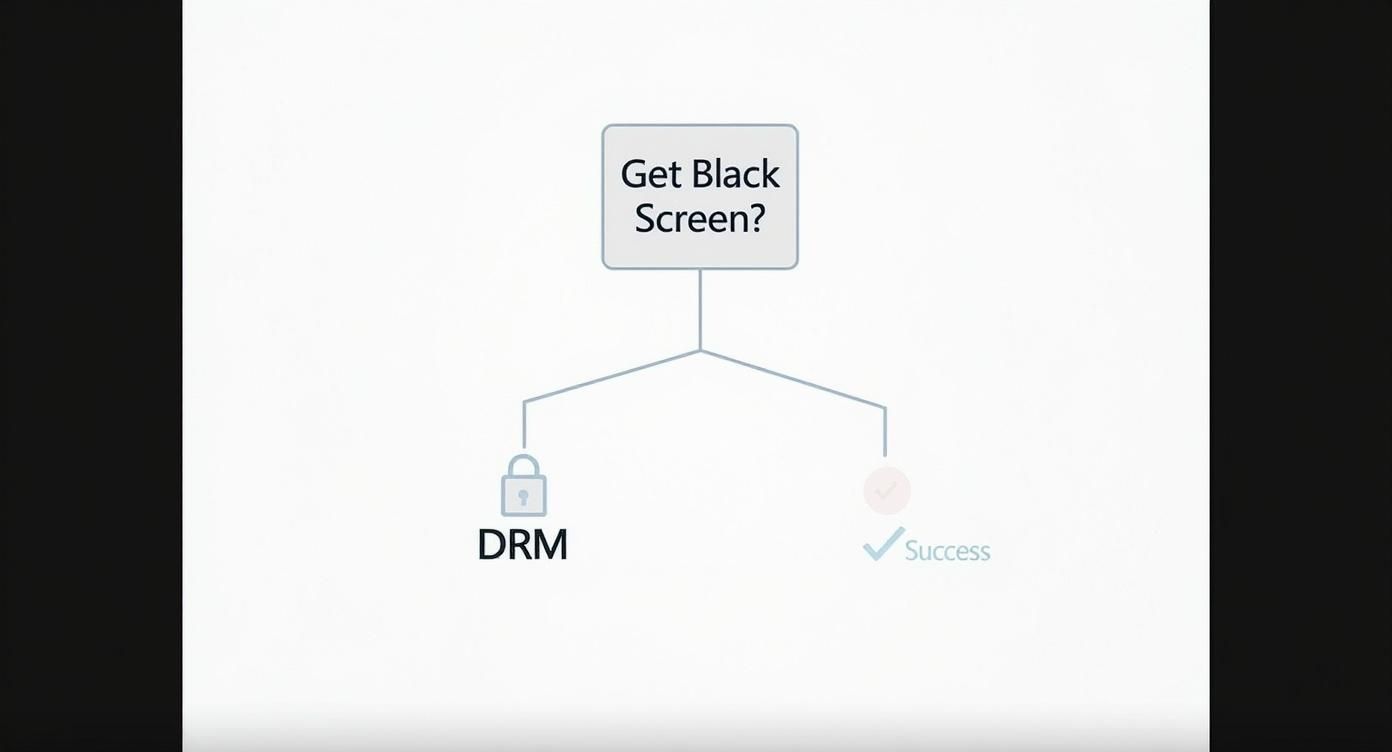
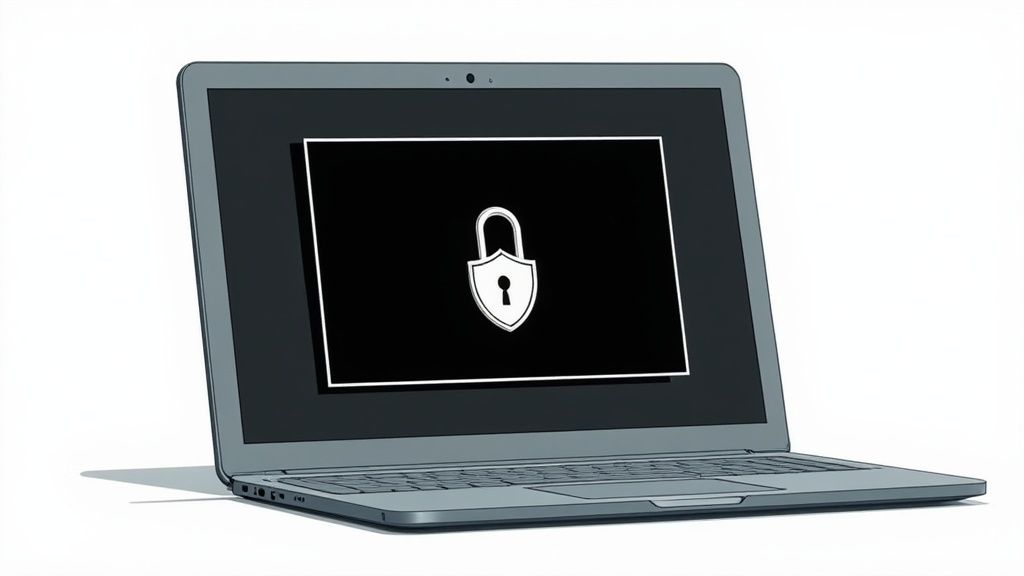
Ever tried to grab a screenshot of a crucial diagram in a Udemy course, only to get a black rectangle? You're not alone. It isn't a glitch: on Udemy's community forum, the black screen is put down to anti-piracy measures on certain courses. The protection is called Digital Rights Management (DRM).
DRM protects courses from being copied and shared illegally. That's fair, but it gets in the way of learners who just want a code snippet or a formula in their notes.
On a protected course, the browser decrypts the video and hands it straight to your graphics card. Your operating system's screenshot tool (Cmd+Shift+4 on Mac, Snipping Tool on Windows) never sees those frames, so it captures a black layer where the video should be.
Try these in order. The first is free and takes a minute.
#1. Turn Off Graphics Acceleration in Chrome or Edge
With graphics acceleration off, the browser stops handing the video to your graphics card, so your screenshot tool can see it.
In Chrome, open Settings → System. In Edge, it's Settings → System and performance.
Switch off Use graphics acceleration when available.
Click Relaunch, open the lecture again, and take the screenshot with Win+Shift+S (Windows) or Cmd+Shift+4 (Mac).
This works on many Udemy courses. Two catches: video playback can get choppier while the setting is off, so switch it back on afterwards; and on a course with stronger protection the video can stay black.
Browsers handle protected video differently. In 2024 a Mozilla employee said Firefox doesn't black out videos at a website's request and that Udemy screenshots worked for them; user reports since are mixed. If Chrome gives you a black rectangle, open the same lecture in Firefox and try again.
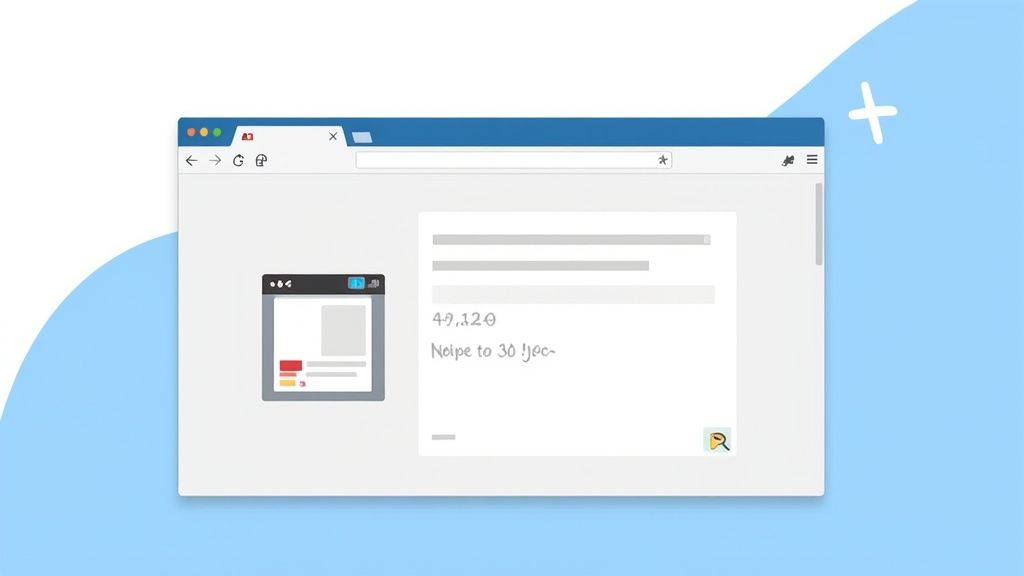
Screenshot tools built into the browser don't depend on your operating system's capture. A note-taking extension can also put each screenshot straight into your notes, at the right moment of the lecture, instead of in a downloads folder. For other tools that improve Udemy, see our list of the best Udemy Chrome extensions.
HoverNotes is a Chrome extension that watches videos with you, generates AI notes, and saves them as Markdown directly to your file system. Its screenshot button grabs the frame from the video on the page, and when a course blocks that, it captures the browser tab instead. It works the same way on Udemy, Coursera, and LinkedIn Learning.
This means you can finally grab that complex diagram or block of code and embed it directly into your notes. The process shifts from snagging a random image to creating an integrated learning asset. Every screenshot includes a clickable timestamp—one click returns you to that exact moment in the video. This is crucial for retention, as visual context matters; transcripts alone miss diagrams, code on screen, and demonstrations.
Stop fighting the platform's security. Use a workflow that respects it while still serving your learning needs. It’s about capturing knowledge, not just pixels.
If you’re serious about building a real knowledge base, you can learn more about taking effective Udemy notes and making them a core part of your study system.
The best part? This method works on any website with video—from major course platforms like Coursera to YouTube tutorials and even internal university portals. You get one consistent, reliable way to capture visual information, no matter where you're learning.
#Turn Scattered Screenshots into an Organized Study System
Grabbing a screenshot is one thing. Making it useful is another.
For most people, screenshots end up in a digital graveyard—a desktop folder filled with files named Screen Shot 2024-10-26...png with zero connection to the notes they belong with. The real value comes from weaving those visuals directly into your study workflow.
The old method—save an image, switch to a notes app, type—is broken. It creates a gap between what you see and what you write, forcing you to constantly switch contexts and hunt for files later.
Imagine this instead: you capture a screenshot, and it instantly appears inside your notes, automatically linked to the exact moment in the video.
With a tool like HoverNotes, every screenshot includes a clickable timestamp. One click takes you right back to that point in the lecture. You’re no longer collecting random pictures; you're building an interactive knowledge base.
Instead of a cluttered folder of cryptic filenames, your visuals are embedded right where they make sense—inside your notes.
For Obsidian users, this workflow is a perfect fit. All notes and images are saved as local Markdown files on your machine. You own your knowledge. No cloud sync, no proprietary formats—just plain text files that are searchable, portable, and permanent.
The difference between the old way and a modern, integrated approach is night and day.
Method
Screenshot Context
Video Sync
Organization
Old Way (Standard Screenshots)
Lost. The image file is completely separate from your notes.
None. You have to manually scrub through the video to find the context.
A mess. A folder of random images and a separate text file.
Integrated Way (HoverNotes)
Embedded. The screenshot is right next to the relevant note.
Automatic. Click the image to jump to the exact video timestamp.
Centralized. Everything lives together in one organized, searchable file.
Ultimately, the goal isn't just to take screenshots—it's to build a resource that helps you remember and re-engage with what you've learned long after the course ends.
Let's be honest: a lot of what's on screen during a video is noise. You rarely need the instructor's face or your browser tabs—you just want that specific formula on the whiteboard or the lines of code in the editor.
This is where snip capture helps.
Instead of grabbing the entire screen and cropping it later, you can select and capture only the most important region of the video. If you're in a Python tutorial, you can snip just the function being explained and leave out the rest.
Tools built for learning, like HoverNotes, let you embed this focused snip directly into your notes. This keeps your study material clean, organized, and directly tied to what you're trying to learn. It’s a small workflow adjustment that makes note-taking dramatically faster and more effective.
By capturing only essential visual information, your study materials become denser and more valuable. You eliminate the clutter, making review sessions much more efficient.
The ability to grab exactly what you need is a core part of an efficient learning workflow. You can learn more about different screenshot methods that integrate directly with your notes.
Udemy blocks screenshots on some courses as part of its anti-piracy measures, to stop videos from being copied and resold. On many courses, switching off graphics acceleration in your browser is enough to get a normal screenshot.
Not on protected courses: screen recorders hit the same black screen as screenshot tools, and recording a course to share it breaks Udemy's terms. To watch offline, use Udemy's mobile app, which can download lectures for offline viewing.
For your own study notes, people do it all the time. The line is sharing: posting or passing on screenshots of course material breaks Udemy's terms and the instructor's copyright. The methods here are for learning, not redistribution.
#Will These Methods Work on Coursera or Other Platforms?
Yes. The graphics-acceleration setting applies to every site in the browser, and the browser-based tool we covered works with the video player itself, not a specific website's code. So the same steps apply on Coursera, LinkedIn Learning, or a private university portal.
#Do I Have to Pay Just to Take Screenshots on Udemy?
No. If you use a tool like HoverNotes, all the manual features are free. This includes taking unlimited timestamped screenshots with the full-frame or snip capture tool, using the distraction-free video mode, and typing your own notes. The AI note generation is an optional feature. Even without AI, the distraction-free mode and screenshots are worth it.
Pro-Tip for Obsidian Users: If you’re building a knowledge base in Obsidian, HoverNotes is a great fit. It saves all your notes and screenshots as clean Markdown files directly into your local vault. Your notes belong to you.
Struggling with MOOC note taking on Coursera or edX? Learn a proven workflow to organize, retain, and apply knowledge from long courses without the burnout.