How to Capture and Organize Video Screenshots for Notes | HoverNotes
GeneralJanuary 21, 2026
How to Capture and Organize Video Screenshots for Notes
Tired of scattered screenshots? Learn how to take screenshots from videos with workflows that connect visuals to your notes and boost your learning.
By HoverNotes Team•12 min read
TL;DR: Manual screenshots (Win+Shift+S or Cmd+Shift+4) create a mess of disorganized files with no context. For learning from videos, you need a workflow that embeds timestamped screenshots directly into your notes. This keeps visual context (diagrams, code) linked to the exact moment in the video, making your notes searchable and useful. A dedicated tool like a browser extension automates this, saving everything in one place.
We all know the basic keyboard shortcuts for screenshots. They work in a pinch. But when you're trying to learn from a video, this method usually ends with a desktop cluttered with random, contextless images.
A few days later, you’re left wondering, "Why did I even save this?"
For serious learners, the goal isn't just to capture a frame; it's to turn that visual into useful, organized knowledge. That means moving beyond basic OS tools to a more deliberate workflow.
Grabbing a still from a video is the easy part. The real challenge is making it a meaningful part of your study material instead of digital clutter. Most people just get stuck with a folder full of files named Screen Shot 2024-10-26 at 11.45.12 AM.png. Not helpful.
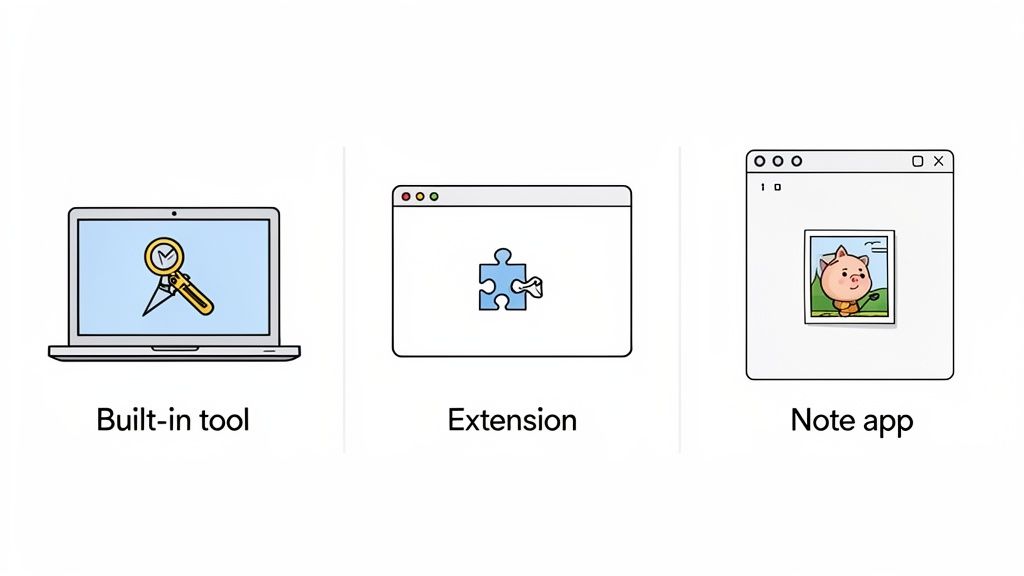
There are three main ways to do this, each with clear trade-offs:
Built-in OS Tools: Fine for a quick, one-off capture when you don't need notes or context.
Browser Extensions: A solid step up, especially for grabbing stills from online platforms like YouTube, Udemy, or Coursera.
Integrated Note-Taking Tools: The best option for building an organized learning system where every screenshot is embedded with a timestamp and your notes.
You can learn how to do a video screenshot with these methods anywhere online. But if your goal is organized learning—especially from platforms like YouTube—it’s worth using a specialized workflow. We have a guide that dives deeper into how to take screenshots from a YouTube video that actually helps you learn.
The right method is the one that bridges the gap between a chaotic desktop and a structured knowledge base.
Quick, one-off captures without needing notes or context.
Free and always available. No installation needed.
Disorganized files, no link to the video source or timestamp, constant pausing and context-switching.
Browser Extensions
Capturing from online videos (YouTube, Udemy, etc.) with some context.
Often adds timestamps automatically, can be integrated with some note apps.
Limited to the browser, features vary widely, can still create separate files to manage.
Integrated Note Tools
Building a connected knowledge base for long-term learning.
Screenshots are saved directly into your notes with source links and timestamps. Keeps everything in one place.
May have a learning curve or require a subscription. Might be overkill for casual use.
Choosing the right tool from the start saves a massive amount of time reorganizing later. For anyone serious about building knowledge from video content, a browser extension or an integrated tool is the only way to go.
Ever watch a two-hour lecture video but remember almost nothing a week later? It’s not just you. Passively watching video is terrible for retention. When an instructor sketches a diagram, highlights code, or points to data on a chart, that visual context is where the learning happens.
Pure text transcripts miss all of it. They can't capture a process being demonstrated on screen.
Transcripts are good for searching keywords, but they strip away the visual cues that make information stick. For dense content on YouTube, Udemy, or Coursera, this means you can spend hours watching with little to show for it.
Research suggests we retain as little as 10-20% of spoken information from videos without visual reinforcement. Capturing key images boosts recall significantly. The scale of video is massive; you can explore some valuable insights from MarketsandMarkets on the processing power required.
Some people try converting video to text, which helps with the words but still ignores the critical visuals.
Screenshots shouldn’t be an afterthought; they should be central to your note-taking. Shifting from passive viewing to active capture transforms how you learn.
Capture visual bookmarks of complex formulas or diagrams.
Instantly link an image to the explanation, so you never rewind endlessly.
Build a personal, searchable library of annotated frames.
By capturing key visual moments, you're not just saving a picture; you're building a searchable, visual library that actually sticks in your memory.
No more hunting through a lecture to find that one slide. With each screenshot embedded in your notes, you bridge the gap between seeing information and truly understanding it. For a deeper dive into practical tips, our guide on effective video learning strategies shows you how to turn playback into lasting knowledge.
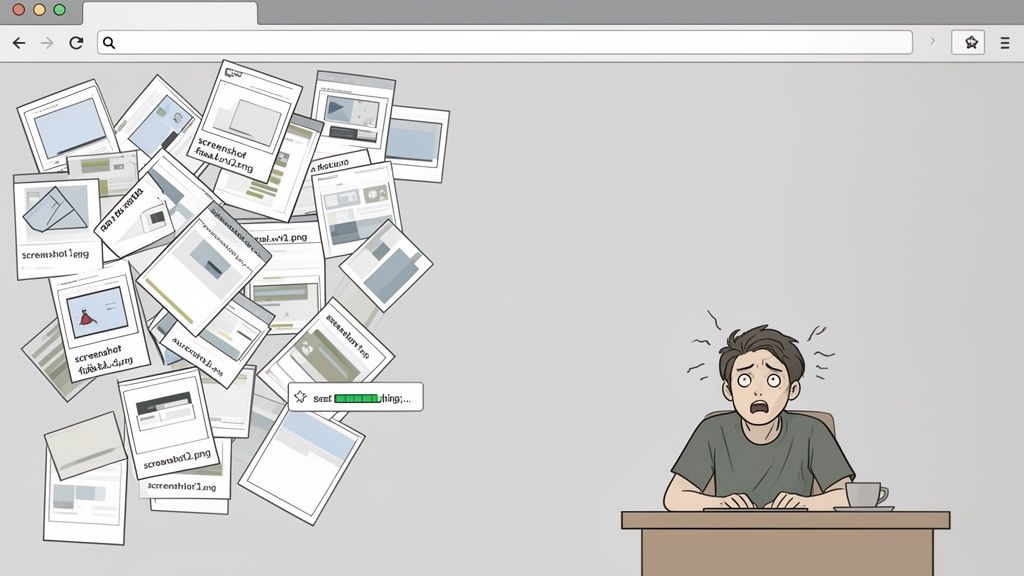
We’ve all done it. You’re deep into a tutorial, hit Win + Shift + S or Cmd + Shift + 4, and snag a screenshot of a critical diagram. You tell yourself you'll organize it later. The intention is good, but the reality is a mess.
This manual process is full of friction. Your desktop slowly becomes a graveyard of files like screenshot-final-v2.png and capture-1.png. Each image is an island, completely disconnected from the video moment it came from. When you review your notes a week later, you're left wondering, "What was the context for this again?"
The workflow constantly forces you to pause the video, switch windows, take the shot, save it somewhere, and then switch back. It shatters your focus. The awkward juggle between watching and capturing means you’re not doing either one very well.
The problem is deeper than just clutter; it’s a broken learning system. This approach creates several issues:
No Context: A screenshot without a timestamp is just a static image. You can't jump back to that exact moment in the video to rehear the explanation, which is often where the real insight is.
Wasted Time: You end up spending more time digging for the right file and trying to piece together its relevance than you do studying. That mental energy should be spent on learning.
Platform Friction: Some course platforms like Udemy show a black screen when you try a standard screenshot due to content protection. It’s a common frustration you can learn more about in our guide to the Udemy screenshot black screen.
The core issue with manual methods is that they treat screenshots as separate artifacts, not as integral parts of your notes. This separation is where knowledge gets lost.
An effective system should embed the visual evidence directly where it belongs, transforming a simple image into a powerful, context-rich learning tool. Instead of adding steps, it should remove them.
A raw screenshot is just an image. It only becomes a powerful learning tool when it's linked to the exact moment in the video. Timestamped screenshots act like bookmarks that instantly jump you to the right second, turning a picture into interactive study material.
This is critical for learning from modern video content, where a key diagram might only be on screen for a few seconds. While 73% of viewers find short videos most effective, those crucial visuals are lost without a reliable way to capture them. With 92% of mobile videos being shared, people clearly want to grab specific moments. You can see more data on this over at Wistia.
When you embed these captures directly into your notes, everything changes. No more juggling a messy folder of screenshots and a separate text file.
Tools like HoverNotes make this a one-step process. Every screenshot you take is inserted into your Markdown note with a clickable timestamp. Click the image, and you’re instantly back in the video at that precise moment.
Here’s why that’s so effective:
Instant Context: Every screenshot is a direct portal back to its source. No more guessing.
A Single Source of Truth: Your text and visuals live together in one cohesive document.
Searchable Visual Archive: Your notes remain text-first and easy to search, but with rich visual context right where you need it.
By bringing your visuals directly into your notes, you can slash your review time. You stay focused on the material, not on finding your files.
A dedicated tool makes this workflow effortless. HoverNotes is a Chrome extension that watches videos with you, generates AI notes, and saves them as Markdown directly to your file system. It lets you grab timestamped screenshots that appear inline in your notes.
It also supports a "snip" capture, so you can select just the diagram or line of code you need, cutting out the visual noise.
This process removes friction. You have video controls and your notes side-by-side. You can slow down, pause, and snap an image without breaking your flow. And if you’re an Obsidian user, these Markdown files drop right into your vault. Notes also copy cleanly into Notion.
When you combine visuals and text this way, you form connections faster. The link back to the original moment is always right there. For more on this workflow, check out our guide on video notes and Obsidian integration.
A good workflow shouldn't feel like work. The goal is to get that perfect frame from a video into your notes without breaking concentration.
Using a tool like HoverNotes, designed for video learning, you can build a system that works everywhere—YouTube, Udemy, Coursera, or even local video files. A quick keyboard shortcut is all it takes to grab the entire frame or "snip" a specific section.
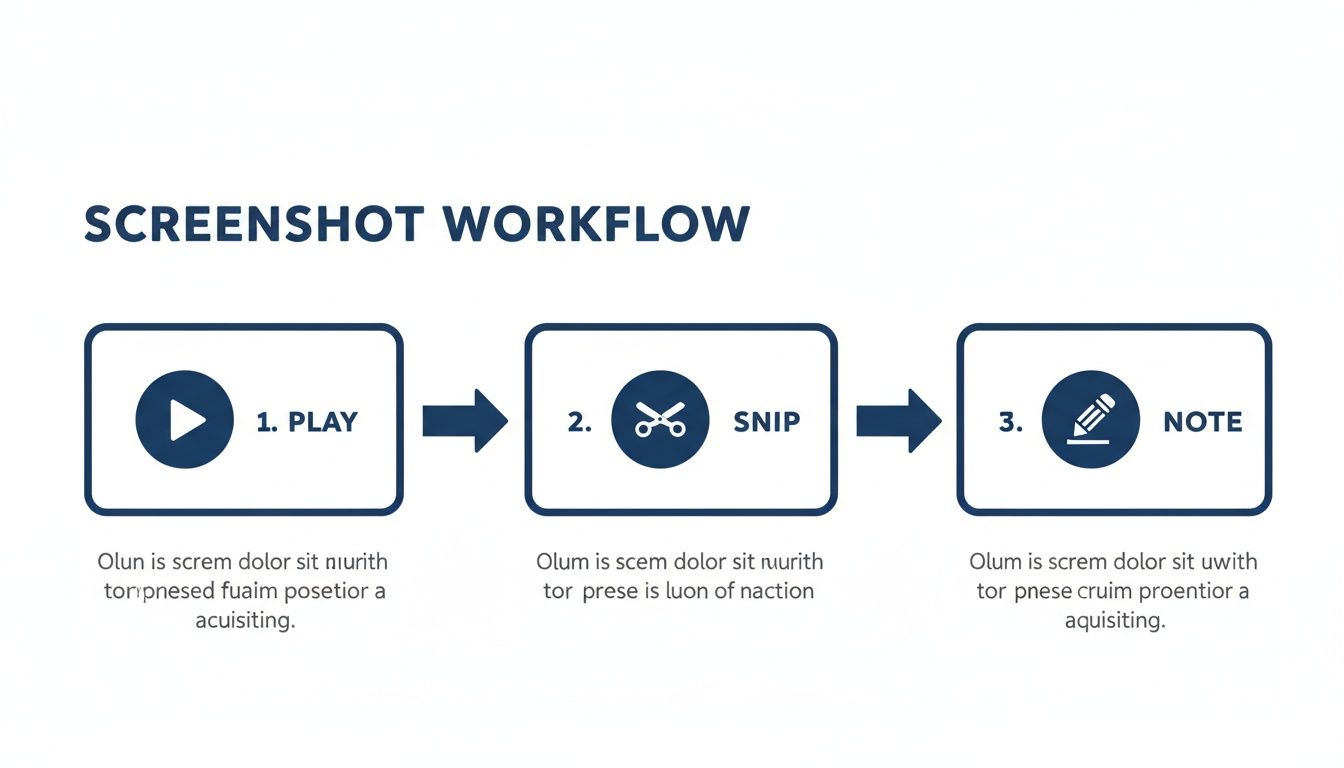
The process boils down to three simple actions.
The key is the immediacy. You play the video, snip the visual, and add your note without losing your train of thought.
As soon as you capture it, the image appears in your notes with a clickable timestamp. You can immediately add your own thoughts right beside the visual. This solves the frustrating, multi-step dance of manual methods.
This is also a powerful retention hack. The visual component of video contributes to 95% message retention, yet 58% of learners say a lack of time is their biggest barrier. By making screenshot capture seamless, you turn passive viewing into an active process.
What happens next is just as important. Everything is saved as a clean Markdown (.md) file directly on your computer. No proprietary formats, no cloud services holding your data hostage.
You own the files. Move them, back them up, grep them—they're just Markdown.
This approach solves the organization problem for good. Your notes are instantly ready for your Obsidian vault or can be copy-pasted into Notion with formatting intact. It’s a system built for people who are serious about learning and owning their knowledge. If you're building out your student toolkit, we've compiled a list of the best Chrome extensions for students.
For note-taking apps like Obsidian and Notion, PNG is almost always the best choice. It uses lossless compression, which means text, code, and detailed diagrams stay perfectly sharp. JPG files are smaller, but their compression can make crucial details blurry. A good tool handles this automatically, saving crisp PNGs so you don't have to think about it.
#Is it legal to take screenshots from paid courses?
For your own personal study, taking screenshots from a course you've paid for generally falls under fair use. The key is that you're not distributing or selling copyrighted material. As long as the captures are for building your private knowledge base, you're typically fine. When in doubt, check the platform's terms of service.
Most OS tools have a region-capture feature (Win + Shift + S or Cmd + Shift + 4), but they create a disconnected workflow. You still have to find the file and manually drop it into your notes. A much smoother approach is a tool with an integrated "snip" feature that lets you click and drag to capture just the diagram you need, embedding it directly into your notes with a timestamp.
The timestamp screenshot feature in HoverNotes alone can save hours of rewatching. Even without AI, the distraction-free mode and screenshots are worth it for anyone who learns from video. You can try it free—you get 20 minutes of AI credits on signup, no credit card needed.
Struggling with MOOC note taking on Coursera or edX? Learn a proven workflow to organize, retain, and apply knowledge from long courses without the burnout.