YouTube-Video-Notizen vs. Transkript: Was ist der Unterschied? | HoverNotes
General17. Dezember 2025
YouTube-Video-Notizen vs. Transkript: Was ist der Unterschied?
Entdecken Sie die Grenzen eines einfachen Transkripts von YouTube-Videos für das Lernen. Sehen Sie, warum visueller Kontext und KI-gestützte Notizen für eine echte Behaltensleistung unerlässlich sind.
Von HoverNotes Team•11 Min. Lesezeit
Ein Transkript von einem YouTube-Video zu erstellen, fühlt sich wie ein cleverer Lern-Hack an. Sie erhalten alle gesprochenen Worte übersichtlich dargestellt, bereit zur Überprüfung, ohne das Ganze noch einmal ansehen zu müssen. Aber dieser Ansatz hat einen großen blinden Fleck: Er ignoriert vollständig, was auf dem Bildschirm passiert.
Eine Textwand kann Ihnen kein komplexes Diagramm zeigen, während es gezeichnet wird. Sie kann nicht die exakte Codezeile erfassen, die ein Moderator hervorhebt. Sie kann keine subtile physische Technik vermitteln, die demonstriert wird. Videobasiertes Lernen hat ein Problem mit der Behaltensleistung, und sich nur auf Text zu verlassen, verschlimmert es.
#Warum Ihr YouTube-Video-Transkript die Hälfte der Geschichte auslässt
Video ist dazu gedacht, , nicht nur zu erzählen. Wenn Sie die visuelle Ebene entfernen und sich nur auf ein Transkript verlassen, erzeugen Sie eine massive Informationslücke. Dies gilt insbesondere für technische Tutorials, wissenschaftliche Erklärungen oder Inhalte, bei denen die visuellen Elemente wohl wichtiger sind als die Erzählung.
Stellen Sie sich vor, Sie versuchen, eine neue Softwarefunktion zu erlernen. Hätten Sie lieber eine Textbeschreibung oder eine Bildschirmaufnahme des tatsächlichen Workflows? Das Transkript gibt Ihnen das "Was", lässt aber das "Wie" und "Warum" aus, das nur auf dem Bildschirm sichtbar ist. Dies führt zu häufigen Frustrationen:
Unvollständige Informationen: Wichtige Aktionen auf dem Bildschirm, die nicht laut ausgesprochen werden, gehen verloren.
Mangel an Kontext: Eine Beschreibung eines Diagramms wird abstrakt, ohne dass das visuelle Element es verankert.
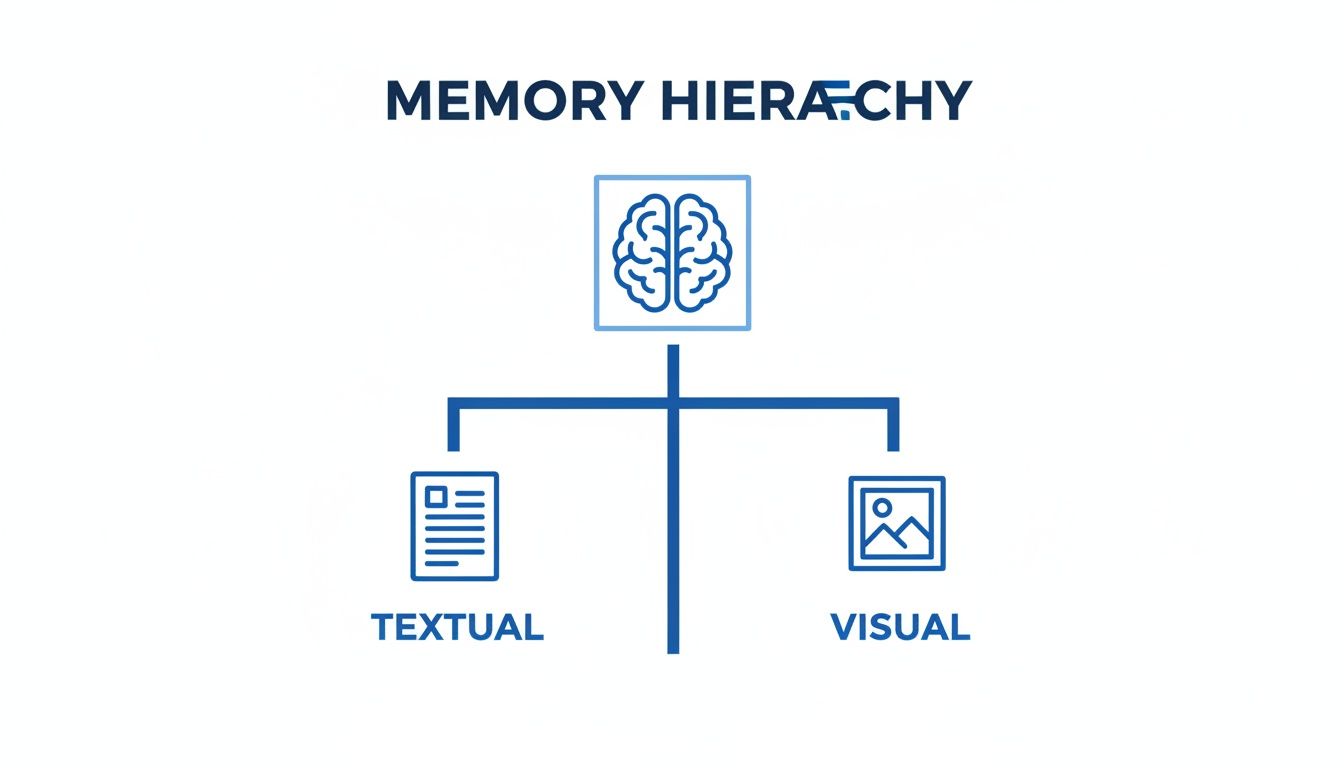
Schlechte Behaltensleistung: Unser Gehirn ist darauf ausgelegt, Wörter mit Bildern zu verknüpfen. Wie wir bereits untersucht haben, ist dies ein Kernproblem des Videolernens – reiner Text ist viel schwieriger abzurufen.
Ein Transkript mag Ihnen sagen, dass der Moderator auf "den wichtigsten Teil der Grafik" gezeigt hat, aber es kann Ihnen nicht zeigen, welcher Teil das war. Versuchen Sie später, solche Notizen zu überprüfen, ist reine Raterei.
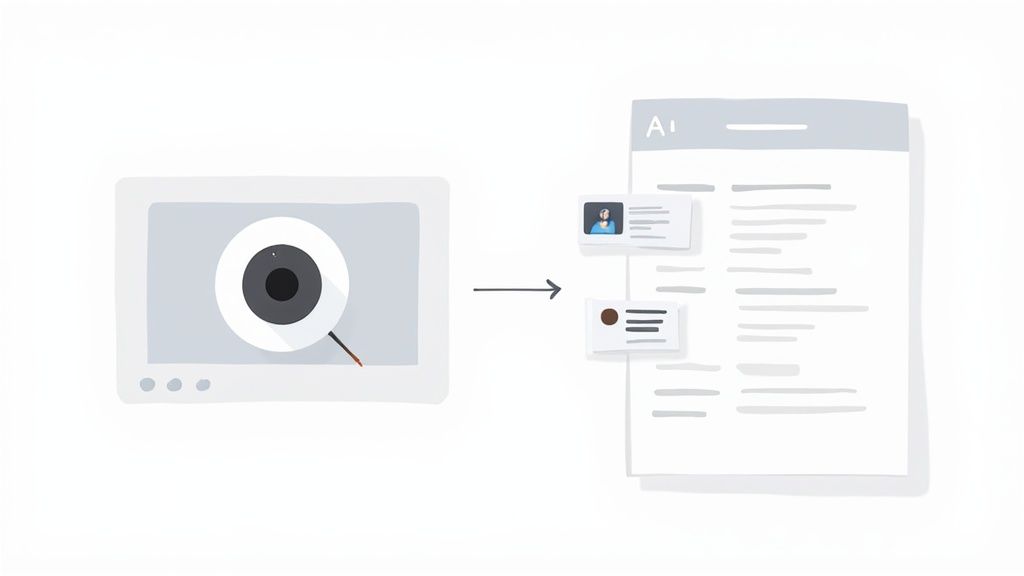
Aus diesem Grund sind Tools, die nur das Transkript eines Videos analysieren, grundsätzlich begrenzt. Sie sind blind für das, was Sie sehen. Im Gegensatz dazu analysiert ein Tool wie HoverNotes das Video tatsächlich Frame für Frame und schaut es sich genauso an, wie es eine Person tun würde. Dadurch kann es mit Zeitstempeln versehene Screenshots von wichtigen Diagrammen, Code-Schnipseln und Schlüsselmomenten erfassen und direkt in Ihre Notizen einbetten. Dies bewahrt den entscheidenden visuellen Kontext, der das Lernen aus Videos effektiv macht.
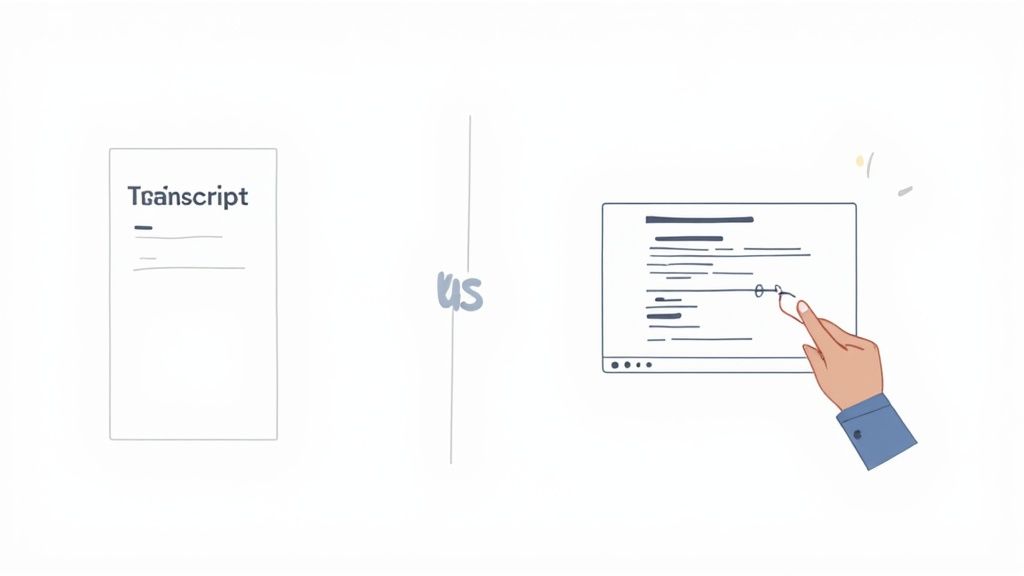
Wenn Sie Informationen aus einem YouTube-Video ziehen, fallen die von Ihnen verwendeten Tools in zwei Lager. Der Unterschied ist entscheidend für die Erstellung von Notizen, an die Sie sich später tatsächlich erinnern und die Sie verwenden können.
Auf der einen Seite haben Sie transkriptbasierte Tools. Sie sind schnell und einfach – sie verbinden sich mit YouTube und ziehen die automatisch generierten Untertitel. Aber hier ist der Haken: Sie sind grundsätzlich blind. Sie verarbeiten nur das Audio, was bedeutet, dass sie alles verpassen, was tatsächlich auf dem Bildschirm passiert. Alle wichtigen Diagramme, Code-Schnipsel und Live-Demonstrationen sind für sie völlig unsichtbar.
Auf der anderen Seite haben Sie Frame-by-Frame-Videoanalyse. Anstatt das Video nur anzuhören, sehen sich diese Tools das Video an. Sie verarbeiten die visuellen Daten aus jedem Frame, um zu verstehen, wann etwas Wichtiges auf dem Bildschirm erscheint.
Hier macht ein Tool wie HoverNotes, eine Chrome-Erweiterung, die KI-Notizen generiert, einen Unterschied. Im Gegensatz zu Tools, die nur Transkripte analysieren, schaut sich HoverNotes das Video an, um zu erfassen, was tatsächlich auf dem Bildschirm ist.
Dies führt zu zwei völlig unterschiedlichen Ergebnissen:
Ein Transkript-Tool liefert Ihnen eine flache Textwand, die oft mit Fehlern aus der automatischen Untertitelung behaftet und völlig losgelöst von jedem visuellen Kontext ist.
Ein Videoanalysetool wie HoverNotes liefert Ihnen strukturierte Notizen mit wichtigen visuellen Elementen, die genau dort eingebettet sind, wo sie hingehören.
Denken Sie darüber nach, wie unser Gehirn funktioniert. Wir verarbeiten Informationen sowohl durch das, was wir hören, als auch durch das, was wir sehen.
Der Versuch, aus einem einfachen YouTube-Transkript zu lernen, bedeutet, dass Sie nur die halbe Wahrheit erfahren. Um tiefer in die technische Seite einzutauchen, lesen Sie unseren Leitfaden zum Transkribieren eines YouTube-Videos auf die richtige Weise.
Vielleicht das nützlichste Feature, das aus diesem visuell orientierten Ansatz hervorgeht, ist der zeitgestempelte Screenshot. Jedes aufgenommene Bild ist nicht nur ein statisches Bild; jeder Screenshot enthält einen anklickbaren Zeitstempel – ein Klick bringt Sie zu genau diesem Moment zurück. Es ist die ultimative Brücke zwischen Ihren Notizen und dem Original-Quellmaterial.
Um den Unterschied deutlich zu machen, hier ist, was jede Art von Tool kann und nicht kann. Das eine ist für die einfache Textextraktion konzipiert, während das andere für ein tiefes, kontextuelles Verständnis entwickelt wurde.
Funktion
Nur-Transkript-Tools
Frame-by-Frame-Analyse-Tools (z. B. HoverNotes)
Primäre Eingabe
Audiospur (automatische Untertitel)
Visuelle Frames + Audiospur
Code-Schnipsel
Vollständig verpasst oder im Text verstümmelt
Perfekt in Screenshots erfasst
Diagramme & Charts
Vollständig unsichtbar
Als klare, zeitgestempelte Bilder erfasst
Text auf dem Bildschirm
Nicht erfasst, es sei denn, er wird laut ausgesprochen
Visuell identifiziert und extrahiert
Kontext
Niedrig; nur eine Textwand
Hoch; Notizen sind mit bestimmten visuellen Momenten verknüpft
Genauigkeit
Anfällig für Fehler durch automatische Untertitelung
Hohe visuelle Wiedergabetreue; Text wird durch das Gezeigte verifiziert
Ausgabe
Reiner Text (.txt) oder Untertitel (.srt)
Multimodale Notizen mit Text, Bildern und Links
Letztendlich hängt die Wahl des richtigen Tools von Ihrem Ziel ab. Wenn Sie nur eine grobe Textdatei dessen benötigen, was gesagt wurde, reicht möglicherweise ein Transkript-Tool aus. Wenn Sie jedoch versuchen, komplexe Informationen aus einem Video wirklich zu lernen und zu behalten, ist ein Tool, das die visuellen Elemente analysiert, nicht nur besser, sondern unerlässlich.
#Wie KI passives Zuschauen in aktives Lernen verwandelt
Seien wir ehrlich, das Erstellen von Notizen aus einem Video ist ein umständlicher Prozess. Sie drücken ständig auf Pause, spulen zurück, um das zu erfassen, was Sie verpasst haben, und versuchen, Ihre hingekritzelten Gedanken mit einem zufälligen Ordner mit Screenshots zu kombinieren. Dieser zusammenhangslose Workflow ist das, was moderne KI-Tools beheben sollen.
Stellen Sie sich vor, ein KI-Tool schaut sich die Inhalte für Sie an. Es spuckt nicht einfach eine Textwand aus; es erstellt eine strukturierte Zusammenfassung und erfasst vor allem automatisch Screenshots von den wichtigen Dingen – Diagrammen, Code-Schnipseln und Präsentationsfolien. Die KI kann die Notizen machen, sodass Sie sich auf das Verständnis konzentrieren können.
#Von statischem Text zu einem interaktiven Lernleitfaden
Der wahre Wert liegt nicht nur in der Erfassung von Bildern. Es geht darum, wie sie in Ihre Notizen eingewoben werden. Die KI bettet diese visuellen Elemente genau dort ein, wo sie hingehören, genau in dem Moment, in dem sie auf dem Bildschirm erschienen sind.
Diese einfache Änderung verwandelt ein flaches Transkript eines YouTube-Videos in einen dynamischen, interaktiven Lernleitfaden. Folgendes macht das möglich:
Zeitgestempelte Screenshots: Jeder Screenshot ist ein anklickbarer Link. Mit einem Klick werden Sie sofort zu diesem genauen Zeitpunkt im Video zurückgebracht. Kein Suchen und Scrollen mehr durch die Zeitleiste, um den Kontext zu finden.
Snip-Erfassung: Sie können sich auf den wichtigsten Teil des Bildschirms konzentrieren – eine bestimmte Formel, eine Codezeile – und nur das erfassen, indem Sie es direkt in Ihre Notizen einfügen.
Automatisierte Zusammenfassungen: Die KI gibt Ihnen eine kohärente Zusammenfassung, mit der Sie beginnen können, eine allgemeine Übersicht, auf der Sie dann mit Ihren eigenen Erkenntnissen aufbauen können. Wir gehen in unserem ausführlichen Artikel darüber, wie ein KI-Video-Zusammenfasser Ihr Lernen erheblich beschleunigen kann, näher darauf ein.
Durch die Kombination von Text mit zeitgestempelten visuellen Elementen schließt KI endlich die Lücke, die Nur-Transkript-Tools hinterlassen haben. Ihre Notizen sind nicht mehr nur das, was gesagt wurde – sie sind auch das, was gezeigt wurde, wodurch der visuelle Kontext erhalten bleibt, der für ein echtes Verständnis unerlässlich ist.
Diese Tools kümmern sich um die mühsame Mechanik der Notizenerstellung. Das gibt Ihnen die Freiheit, sich auf das zu konzentrieren, was wirklich zählt: das Material zu erfassen und es einzuprägen.
#Aufbau einer persönlichen Wissensbasis, die Ihnen tatsächlich gehört
Der Sinn des Notizenmachens ist nicht nur, einen Test zu bestehen; es geht darum, eine Bibliothek dessen aufzubauen, was Sie gelernt haben. Für ernsthafte Lernende, die Wert auf Datenschutz und Kontrolle legen – insbesondere für alle im Obsidian-Ökosystem – ist der Besitz Ihrer Daten nicht nur eine Funktion, sondern die gesamte Philosophie.
Die meisten Cloud-basierten Tools speichern Ihre Notizen für Sie, sperren sie aber in ihr eigenes proprietäres Format ein. Wenn dieser Dienst eingestellt wird oder seine Preise in die Höhe treibt, wird Ihr Wissen als Geisel gehalten. Dies ist der grundlegende Unterschied zwischen dem Mieten Ihrer Wissensbasis und dem tatsächlichen Besitz.
Der Local-First-Ansatz dreht dieses Modell um. Anstatt dass Ihre Daten auf dem Server eines Unternehmens gespeichert werden, befinden sie sich auf Ihrem Computer. Dies hat einige enorme Vorteile:
Sie besitzen es für immer: Ihre Notizen sind nicht an ein Abonnement gebunden. Es sind nur Dateien auf Ihrem Computer.
Datenschutz ist die Standardeinstellung: Ohne obligatorische Cloud-Synchronisierung verlassen Ihre Notizen Ihr Gerät nie, es sei denn, Sie entscheiden sich, sie zu verschieben.
Zukunftssicheres Format: Reiner Text und Markdown (.md) sind universell. Sie sind auch noch in Jahrzehnten auf jedem Gerät lesbar.
Dies ist genau der Workflow, für den ein Tool wie HoverNotes entwickelt wurde. HoverNotes ist eine Chrome-Erweiterung, die Videos mit Ihnen ansieht, KI-Notizen generiert und sie als einfache Markdown-Dateien speichert – direkt im Dateisystem Ihres Computers.
Notizen werden als .md-Dateien direkt in Ihrem Obsidian-Vault gespeichert, kein proprietäres Format oder Synchronisierungsdienst – Ihre Notizen gehören Ihnen. Verschieben Sie sie, sichern Sie sie, durchsuchen Sie sie – es ist nur Markdown.
Wenn Sie ein Obsidian-Benutzer sind, kann HoverNotes Notizen direkt in Ihrem Vault speichern. Und für Notion-Benutzer lassen sich Notizen sauber in Notion kopieren, wenn Sie dort alles aufbewahren. Ihre Wissensbasis befindet sich dort, wo Sie sie haben möchten, nicht wo ein Unternehmen Ihnen sagt, dass sie sich befinden soll.
#Ein praktischer Workflow für die Erstellung visueller Videonotizen
Die Theorie ist großartig, aber ein wiederholbarer Workflow sorgt dafür, dass das Lernen haften bleibt. Hier ist ein einfacher Prozess zum Erfassen reichhaltiger, visueller Notizen aus jedem Online-Video – sei es ein Vortrag auf YouTube, ein Kurs auf Udemy oder Coursera, ein Video auf dem Portal Ihrer Universität oder sogar eine lokale Datei auf Ihrem Computer.
Hier geht es nicht um passives Zuschauen. Es geht darum, diese Erfahrung in eine aktive Lernsitzung zu verwandeln.
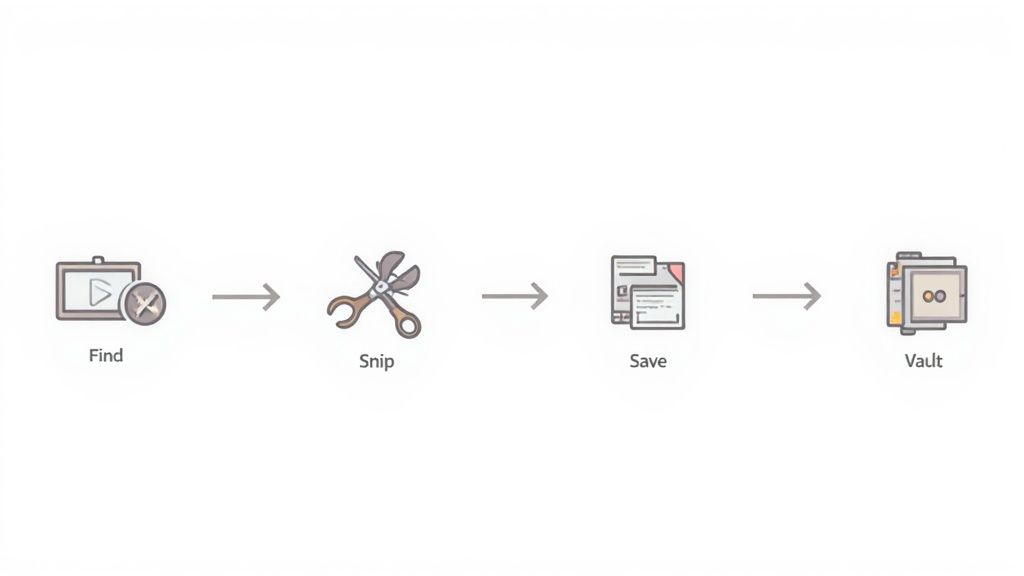
Finden Sie Ihr Video: Öffnen Sie den Vortrag, das Tutorial oder das Kursvideo, das Sie lernen müssen. Es funktioniert überall dort, wo es ein Video gibt.
Aktivieren Sie den Fokusmodus: Ich verwende dafür ein Tool wie HoverNotes. Der Videomodus platziert das Video auf einer Seite und einen sauberen Notizenbereich auf der anderen Seite, wodurch Website-Anzeigen und -Empfehlungen blockiert werden, damit Sie sich konzentrieren können.
Generieren oder beginnen Sie mit dem Tippen: Lassen Sie die KI einen ersten Durchgang von Notizen generieren oder beginnen Sie einfach, Ihre eigenen Gedanken zu tippen. Sie können den Editor ohne KI verwenden, um Ihre eigenen Notizen zu tippen – der Editor, die Screenshots und die Videosteuerung sind kostenlos.
Schneiden Sie visuelle Elemente beim Ansehen aus: Dies ist der Game-Changer. Wenn ein wichtiges Diagramm, eine Codezeile oder eine wichtige Folie erscheint, verwenden Sie eine Tastenkombination oder klicken Sie auf eine Schaltfläche, um sie auszuschneiden. Es erfasst diesen bestimmten Teil des Frames und fügt ihn direkt in Ihre Notizen ein.
Überprüfen Sie Ihre Markdown-Datei: Wenn Sie fertig sind, haben Sie eine saubere .md-Datei. Sie enthält Ihre getippten Notizen, strukturierte Zusammenfassungen und jeden Screenshot, den Sie aufgenommen haben – jeder mit einem anklickbaren Zeitstempel.
Speichern Sie Ihr Wissen: Ziehen Sie diese Datei direkt in Ihren Obsidian-Vault oder kopieren Sie den Inhalt und fügen Sie ihn in Notion ein. Ihre Video-Erkenntnisse sind jetzt ein fester, durchsuchbarer Bestandteil Ihrer Wissensbibliothek.
Dieser Prozess basiert auf Fokus, Effizienz und dem Besitz Ihrer Daten. Sie machen nicht nur Notizen; Sie erstellen ein wiederverwendbares Asset, über das Sie in unserem Leitfaden zum Erstellen eines Lernleitfadenerstellers mehr erfahren können.
Allein die Zeitstempel-Screenshot-Funktion in HoverNotes spart Stunden des erneuten Ansehens. Sie können es kostenlos ausprobieren – 20 Minuten KI-Guthaben, keine Kreditkarte erforderlich.
Suchen Sie eine Snipo-Alternative? Entdecken Sie die besten Tools für Videonotizen auf jeder Plattform, mit Fokus auf Local-First-Speicherung für Obsidian-Nutzer.
Entdecken Sie, wie Sie Bilibili-Notizen aus Bildungsvideos effektiv erfassen, übersetzen und organisieren. Verwandeln Sie passives Zuschauen in aktives Lernen.
Hören Sie auf zu vergessen, was Sie sich ansehen. Erfahren Sie, wie Sie jedes YouTube-Video in Notizen umwandeln und eine durchsuchbare, langfristige Wissensdatenbank aufbauen, die Ihnen wirklich gehört.