简要总结: 在像Coursera和edX这样的平台上,为长篇MOOC做笔记,不只是简单地抄写讲座内容,而是要建立一个可用的知识库。要想成功,你需要一个系统化的方法。
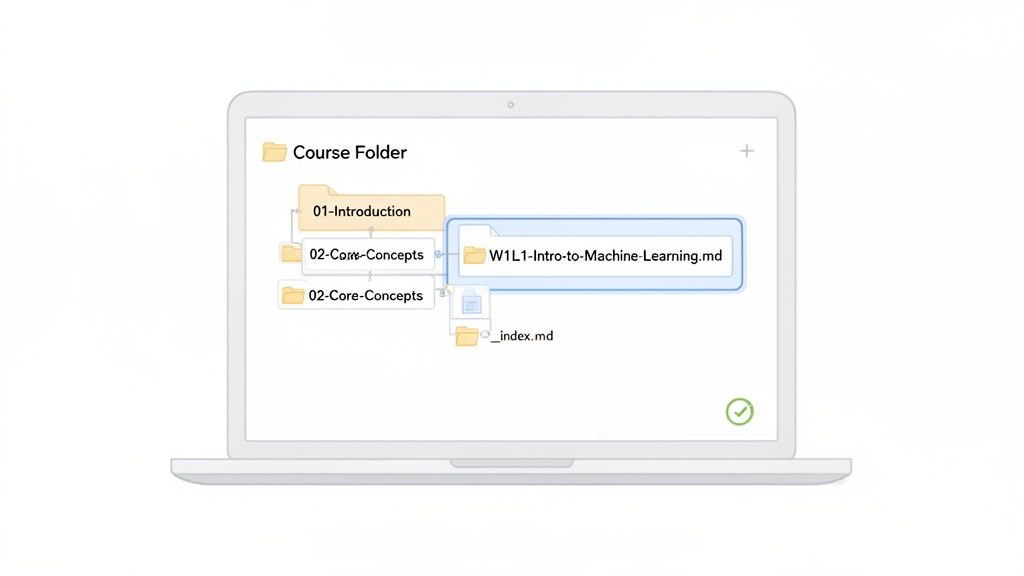
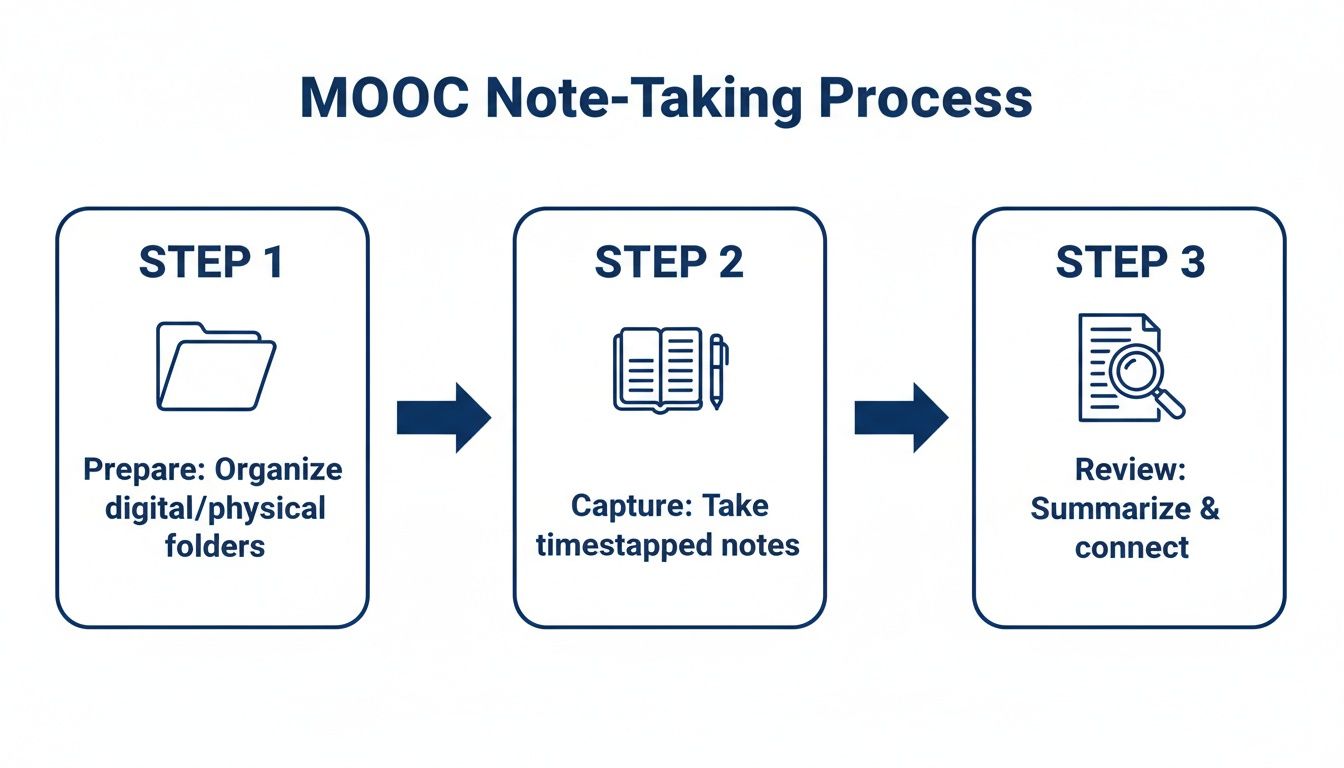
- 准备: 开始前,为课程创建一个专用文件夹,并为每周或模块建立子文件夹。对你的笔记文件采用统一的命名规范(例如
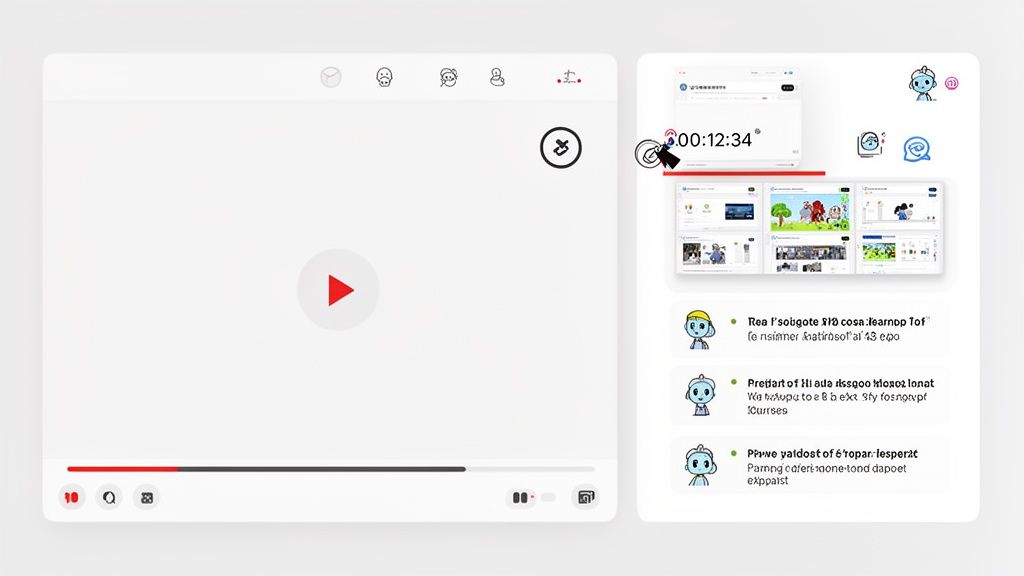
W02-L1-Topic.md)。 - 捕捉: 摒弃不停暂停和播放的老办法。使用工具捕捉带有时间戳的图表和代码截图。让AI负责基本的总结,这样你可以专注于理解内容并添加自己的问题。
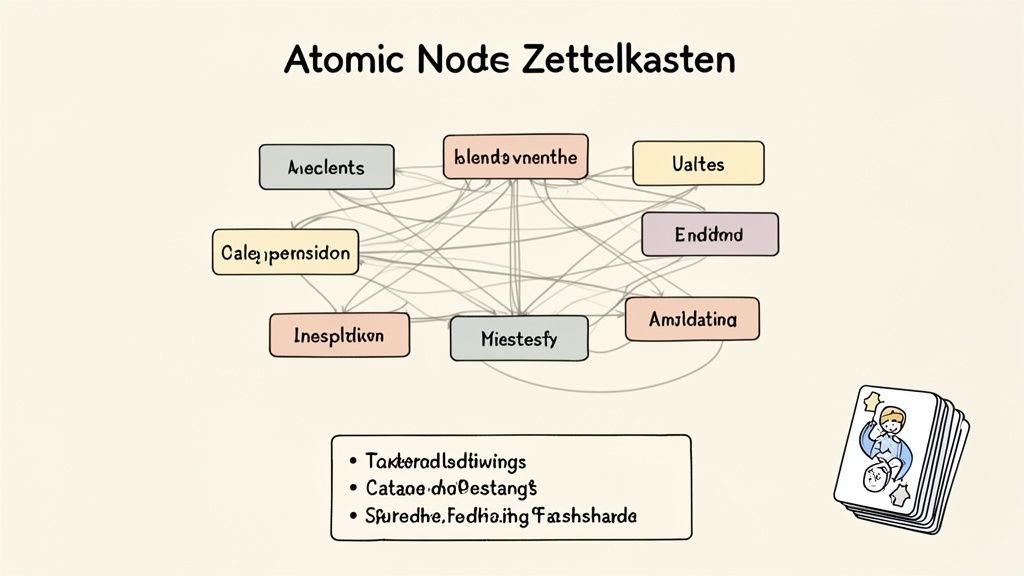
- 复习: 每节课后花5分钟,用你自己的话总结内容。为核心概念创建独立的“原子笔记”,并将它们关联起来。这会将你的笔记转化为长期、可搜索的知识。
尝试从MOOC中做有效笔记,不应该只是机械地抄写讲座。真正的学习源自于将数小时的视频内容转化为一个个人人可用、可搜索、且你能真正记住和应用的知识库。
更智能的MOOC笔记工作流程
我们都经历过。你报名参加了Coursera或edX上的一个激动人心的新课程,却发现自己被大量视频讲座淹没。默认的做法——被动观看——几乎注定会让你忘记所学的一切。
秘诀是主动参与。一个好的工作流程并不是捕捉每一个字,而是在开始播放之前做好准备,在讲座中捕捉最重要的点,然后持续地复习所学内容。
这简单的三步过程,是将容易遗忘的笔记转变为牢固知识的关键。
当你将做笔记视为一个主动学习的循环,而非被动的任务时,你会开始更深入地理解材料。每个阶段都建立在前一个阶段的基础上,创造出真正有价值的长期资源。
如果你想了解更多改进此过程的策略,我们完整的视频笔记指南是一个很好的起点。
为什么你现在的笔记方法行不通
你是否曾完成了一个40小时的Coursera专业课程,却发现连第二周的关键概念都几乎想不起来?你并不孤单。我们大多数人从MOOC做笔记的方法,尤其是长视频课程的笔记方式,基本上是有问题的。
被动观看讲座,同时随手写几个要点,这正是遗忘的根源。人们看了却不记得。学习科学明确指出:主动参与才能让记忆牢固,仅仅听讲远远不够。你可能当下觉得自己很高效,但信息很难在脑中留下永久位置。我们在主动视频学习指南中详细讲述了背后的科学。